Old-Fashioned Jelly Candy
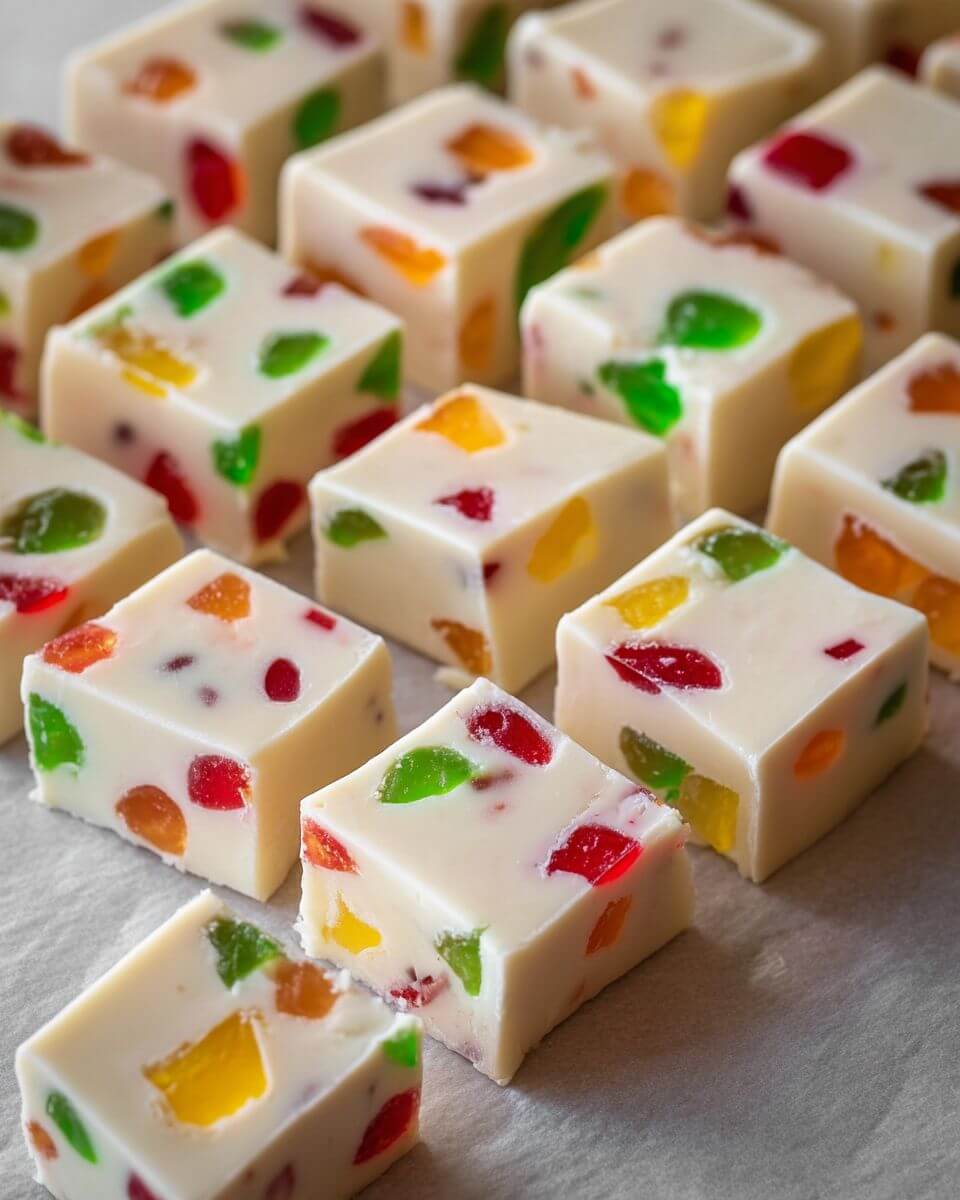
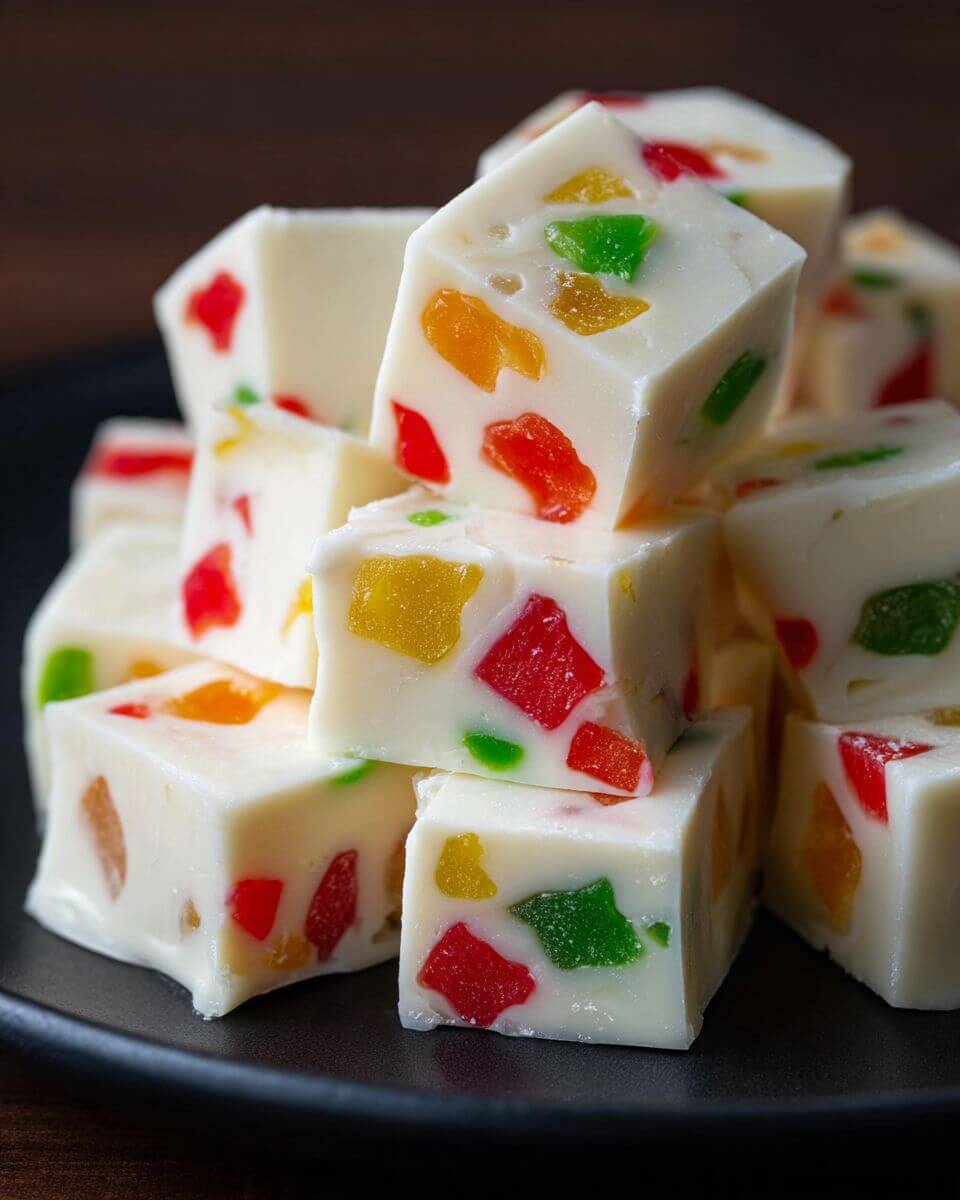
This Old-Fashioned Jelly Candy is one of those colorful little treats that instantly feels nostalgic. It’s soft, sweet, chewy, and packed with chopped gumdrops, all held together with a creamy white chocolate and marshmallow base.
The best part? There’s no stovetop candy thermometer, no complicated sugar stages, and no long list of ingredients. Everything melts together in the microwave, then the candy chills until firm enough to slice.
It’s a great choice for Christmas candy trays, homemade gift boxes, parties, or those moments when you want something festive without spending half the day in the kitchen.
Why You’ll Love This Old-Fashioned Jelly Candy
This recipe is simple, cheerful, and very easy to share.
- Only four main ingredients: You can put it together with almost no prep.
- No baking required: The microwave does the work.
- Colorful and fun: Gumdrops make every piece look a little different.
- Perfect for holidays: It looks right at home on Christmas candy platters.
- Easy to make ahead: Just chill, slice, and store.
And because it’s rich and sweet, small squares are plenty.
Ingredients You’ll Need
Here’s what goes into this easy homemade candy.
- 1 (12-ounce) bag white chocolate chips: Creates the creamy base.
- 1 (10-ounce) bag mini marshmallows: Adds softness and chew.
- 2 tablespoons butter: Helps the mixture melt smoothly.
- 1 cup gumdrops, chopped: Adds color, fruity flavor, and that classic jelly-candy texture.
Tip: Use regular fruit-flavored gumdrops rather than very soft jelly candies, which can melt too much into the mixture.
How to Make Old-Fashioned Jelly Candy
Prep Time: 15 minutes
Chill Time: At least 2 hours
Total Time: About 2 hours 15 minutes
Yield: About 25–36 small pieces
Step 1: Prepare the Pan
Line an 8 × 8-inch baking dish with parchment paper, leaving a little overhang on the sides.
Lightly grease the parchment.
Set the pan aside.
Step 2: Combine the Base Ingredients
In a large microwave-safe bowl, add the white chocolate chips, mini marshmallows, and butter.
Microwave for 1 minute.
Remove the bowl and stir with a greased spatula.
Step 3: Continue Melting
Return the bowl to the microwave and heat in 30-second increments.
Stir well after each interval.
Continue until the white chocolate and marshmallows are melted and the mixture is smooth.
Take your time here. White chocolate can scorch if overheated.
Step 4: Let It Cool Briefly
Let the melted mixture sit for about 1 minute.
This short rest helps prevent the gumdrops from softening too much when you stir them in.
Step 5: Add the Gumdrops
Fold in the chopped gumdrops.
Stir just until they’re evenly distributed throughout the candy mixture.
Try not to overmix, or the colors may begin to streak.
Step 6: Press Into the Pan
Transfer the mixture to the prepared baking dish.
Use a lightly greased spatula to press it into a flat, even layer.
Work fairly quickly because the mixture will begin to firm as it cools.
Step 7: Chill
Cover the dish with plastic wrap.
Refrigerate for at least 2 hours, or until the candy is firm enough to cut cleanly.
Step 8: Slice
Use the parchment overhang to lift the candy out of the pan.
Peel away the parchment.
Cut into small bite-sized squares using a sharp knife.
For cleaner cuts, lightly grease the knife or wipe it between slices.
Tips for the Best Jelly Candy
This recipe is easy, but a few small details make it even better.
Chop the gumdrops small. Smaller pieces spread more evenly and make the candy easier to cut.
Grease your spatula. The melted marshmallow mixture is sticky, so this little trick helps a lot.
Don’t overheat the white chocolate. Short microwave intervals are safer than one long blast of heat.
Let the mixture cool before adding gumdrops. This helps them hold their shape.
Chill completely before slicing. Warm candy will be much harder to cut neatly.
Cut small pieces. This candy is rich, so bite-sized squares are ideal.
If the knife starts sticking, a tiny amount of nonstick spray can make slicing much easier.
Easy Variations to Try
This candy is fun to customize.
- Christmas colors: Use red and green gumdrops.
- Rainbow candy: Mix several gumdrop colors for a bright party treat.
- Cherry version: Use mostly red gumdrops for a cherry-inspired look.
- Nutty version: Stir in ½ cup finely chopped pecans or walnuts.
- Coconut version: Add a small handful of sweetened shredded coconut.
- Sprinkle version: Press holiday sprinkles over the top before chilling.
You can also switch up the colors depending on the season—pastels for spring, orange and yellow for fall, or red and pink for Valentine’s Day.
Why Is It Called Jelly Candy?
The “jelly” part comes from the gumdrops.
Those chewy, fruity pieces give the candy its colorful look and soft jelly-like bites throughout the creamy white chocolate base.
It’s a little different from traditional boiled jelly candy, but it has that same nostalgic, old-fashioned feel.
How to Store Old-Fashioned Jelly Candy
Once sliced, place the candy in an airtight container.
Refrigerator: Store for up to 1 week for the best texture.
Room temperature: It can sit out for short periods in a cool room, but refrigeration keeps it firmer.
Freezer: Freeze for up to 1–2 months.
Place parchment or wax paper between layers so the pieces don’t stick together.
Let frozen candy thaw in the refrigerator before serving.
Frequently Asked Questions
Can I use regular-size marshmallows?
Yes. Chop or tear them into smaller pieces first so they melt more evenly.
Can I use colored marshmallows?
You can, but they may change the appearance of the candy.
White mini marshmallows give you the cleanest base.
Why is my candy too soft?
It may need more chilling time.
Refrigerate it longer before slicing.
Can I make this ahead of time?
Yes. This is a great make-ahead candy because it stores well in the refrigerator.
What kind of gumdrops should I use?
Classic fruit-flavored gumdrops work best.
You can use one color or a mix.
Can I use milk chocolate instead of white chocolate?
You can, but the flavor and appearance will be completely different.
White chocolate works especially well because it lets the colorful gumdrops stand out.
Final Thoughts
This Old-Fashioned Jelly Candy is colorful, creamy, chewy, and wonderfully easy to make.
With white chocolate, marshmallows, butter, and gumdrops, you get a fun little candy that looks festive with almost no effort.
Make a batch for a holiday tray, tuck a few pieces into a gift box, or keep some in the fridge for a sweet bite when the craving hits.
Old-Fashioned Jelly Candy
Ingredients
Method
- Line an 8 × 8-inch baking dish with parchment paper, leaving some overhang on the sides, and lightly grease the parchment.
- Add the white chocolate chips, mini marshmallows, and butter to a large microwave-safe bowl.
- Microwave for 1 minute, then remove the bowl and stir with a lightly greased spatula.
- Return the bowl to the microwave and heat in 30-second intervals, stirring well after each interval, until the mixture is melted and smooth.
- Let the melted mixture rest for about 1 minute.
- Fold in the chopped gumdrops just until evenly distributed.
- Transfer the mixture to the prepared baking dish.
- Use a lightly greased spatula to press the candy into a flat, even layer.
- Cover and refrigerate for at least 2 hours, or until firm enough to slice cleanly.
- Lift the candy from the pan using the parchment overhang and peel away the parchment.
- Cut into small bite-sized squares with a sharp knife, lightly greasing or wiping the knife between cuts if needed.