Mother’s Refrigerator Rolls
Mother’s Refrigerator Rolls (The Soft, Buttery Make-Ahead Rolls That Taste Like Home)
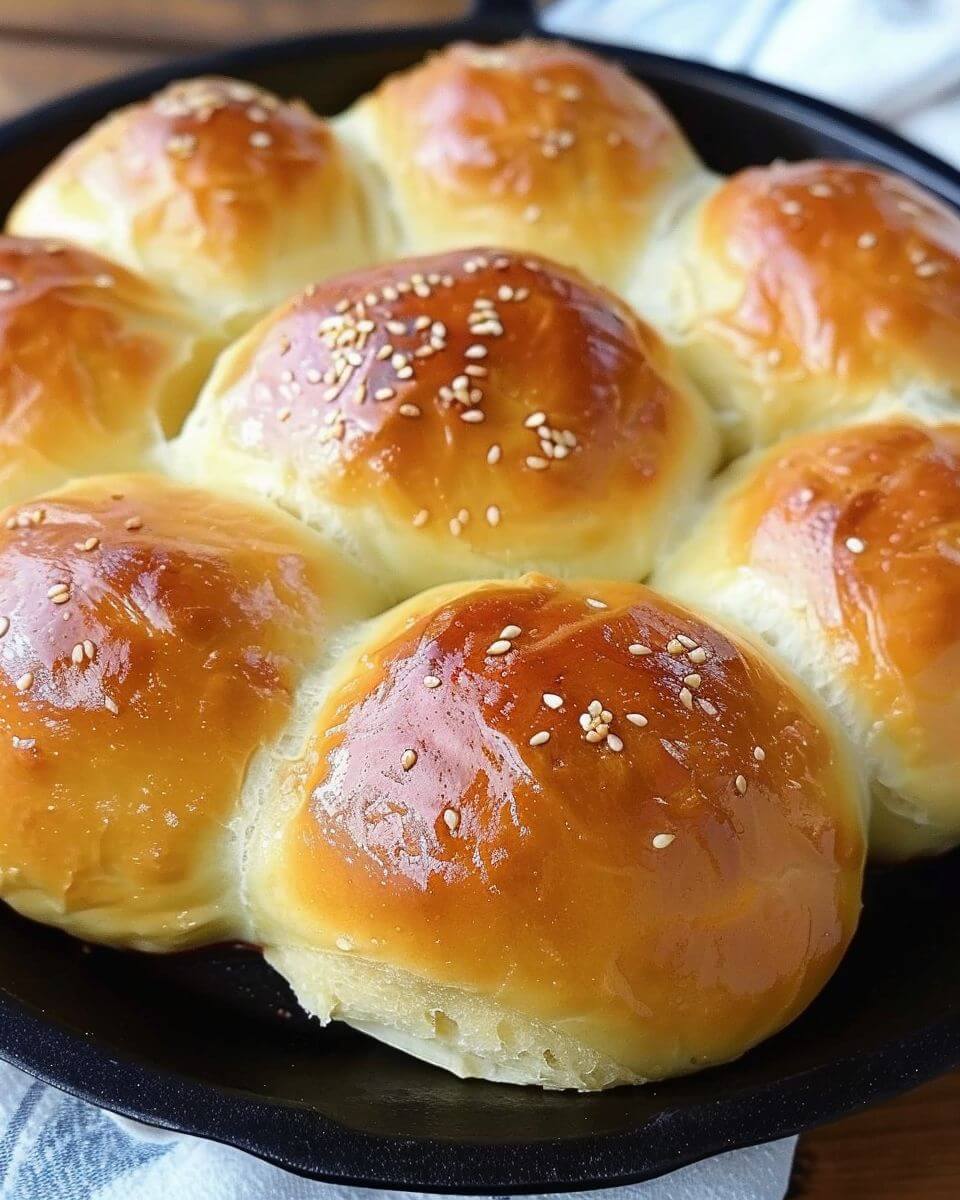
Mother’s refrigerator rolls are the kind of bread that makes a regular dinner feel special.
Soft, fluffy, golden, and just a little buttery, these rolls have that old-fashioned homemade taste people remember. They’re the rolls that show up at holiday tables, Sunday dinners, church potlucks, and family meals where someone always says, “Who made the bread?”
And the best part? The dough can rest in the fridge until you’re ready for it.
That’s the magic.
Instead of trying to mix, rise, shape, bake, and serve rolls all in one busy afternoon, you make the dough ahead of time and let the refrigerator do the slow work. Then, when dinner is getting close, you shape the rolls, let them rise, and bake them until the kitchen smells like butter and comfort.
Honestly, is there a better smell than fresh bread?
Maybe coffee.
But fresh rolls are right up there.
Why This “Recipe” Always Disappears First
There’s something about homemade rolls that makes people act like they haven’t eaten bread in years.
They’ll take one with dinner. Then another “for the gravy.” Then maybe one more with butter and jam because technically dinner is over and that makes it a different category.
That’s roll logic.
Mother’s refrigerator rolls have that tender, slightly sweet flavor that works with almost anything. They’re soft enough for Thanksgiving dinner, sturdy enough for ham sandwiches, and simple enough to make on an ordinary weekend when you want the house to feel cozy.
And here’s the thing: homemade bread has a way of making people feel cared for.
It doesn’t have to be perfect. The rolls don’t all need to be the same size. One might be a little taller, one might lean sideways, one might brown more on the edge. That’s fine. That’s actually part of the charm.
They taste homemade because they are homemade.
And you know what? That matters.
Ingredients (With a Few Easy Swaps)
This recipe uses simple baking ingredients. Nothing fancy. Nothing that requires a specialty store or a long explanation.
Basic Ingredients:
1 cup warm water
2 ¼ teaspoons active dry yeast
½ cup sugar
½ cup butter, softened
1 cup milk, warmed
2 eggs
1 ½ teaspoons salt
5 ½ to 6 cups all-purpose flour
2 tablespoons melted butter, for brushing
Easy Swaps & Notes:
Want richer rolls? Use whole milk instead of low-fat milk.
No active dry yeast? Instant yeast can work too.
Want a little less sweetness? Reduce the sugar to ⅓ cup.
Need extra buttery tops? Brush the rolls before and after baking.
Making them for breakfast? Add a little honey butter on the side.
And yes, the water temperature matters.
You want warm water, not hot water. Think bathwater warm. If it’s too hot, it can hurt the yeast, and then the dough won’t rise properly.
Yeast is alive, which sounds dramatic, but it’s true.
Treat it kindly and it’ll reward you with fluffy rolls.
Step-by-Step Instructions (Simple and Doable)
Homemade rolls sound intimidating, but refrigerator dough makes the whole process easier.
The dough gets made first, then rests in the fridge. Later, you shape and bake.
No need to do everything at once.
That’s a gift.
1. Wake up the yeast.
In a large mixing bowl, combine the warm water, yeast, and a small pinch of the sugar.
Let it sit for about 5–10 minutes, until the mixture looks foamy.
That foam means the yeast is active and ready to work.
If nothing happens, your yeast may be old or the water may have been too hot or too cold.
Annoying? Yes.
Better to find out now than after adding all the flour.
2. Mix the wet ingredients.
Add the remaining sugar, softened butter, warm milk, eggs, and salt to the yeast mixture.
Stir until everything is mostly combined.
The butter may look a little lumpy, and that’s okay. It’ll blend into the dough as you mix.
This is not a beauty contest yet.
3. Add the flour.
Add the flour one cup at a time, stirring after each addition.
Start with 5 ½ cups and add more only if the dough is too sticky to handle.
The dough should be soft and slightly tacky, not dry and stiff.
That’s important.
Too much flour can make rolls heavy, and nobody gets excited about heavy dinner rolls.
4. Knead the dough.
Turn the dough out onto a lightly floured surface and knead for about 6–8 minutes.
You want it smooth, elastic, and soft.
If you’re using a stand mixer, use the dough hook and knead on low speed for about 4–5 minutes.
Either way works.
By the end, the dough should feel like a soft pillow.
A slightly sticky pillow, but still.
5. Let it rise once.
Place the dough in a greased bowl and turn it once so the top is lightly coated.
Cover with a clean towel or plastic wrap.
Let it rise in a warm spot for about 1 hour, or until doubled in size.
This is the first rise, and it gives the rolls that lovely, airy texture.
6. Refrigerate the dough.
Punch the dough down gently.
Cover the bowl tightly and place it in the refrigerator for at least 4 hours or overnight.
This slow chill gives the dough more flavor and makes it easier to handle.
It also means future-you gets homemade rolls without starting from scratch.
Future-you will be grateful.
7. Shape the rolls.
When you’re ready to bake, remove the dough from the fridge.
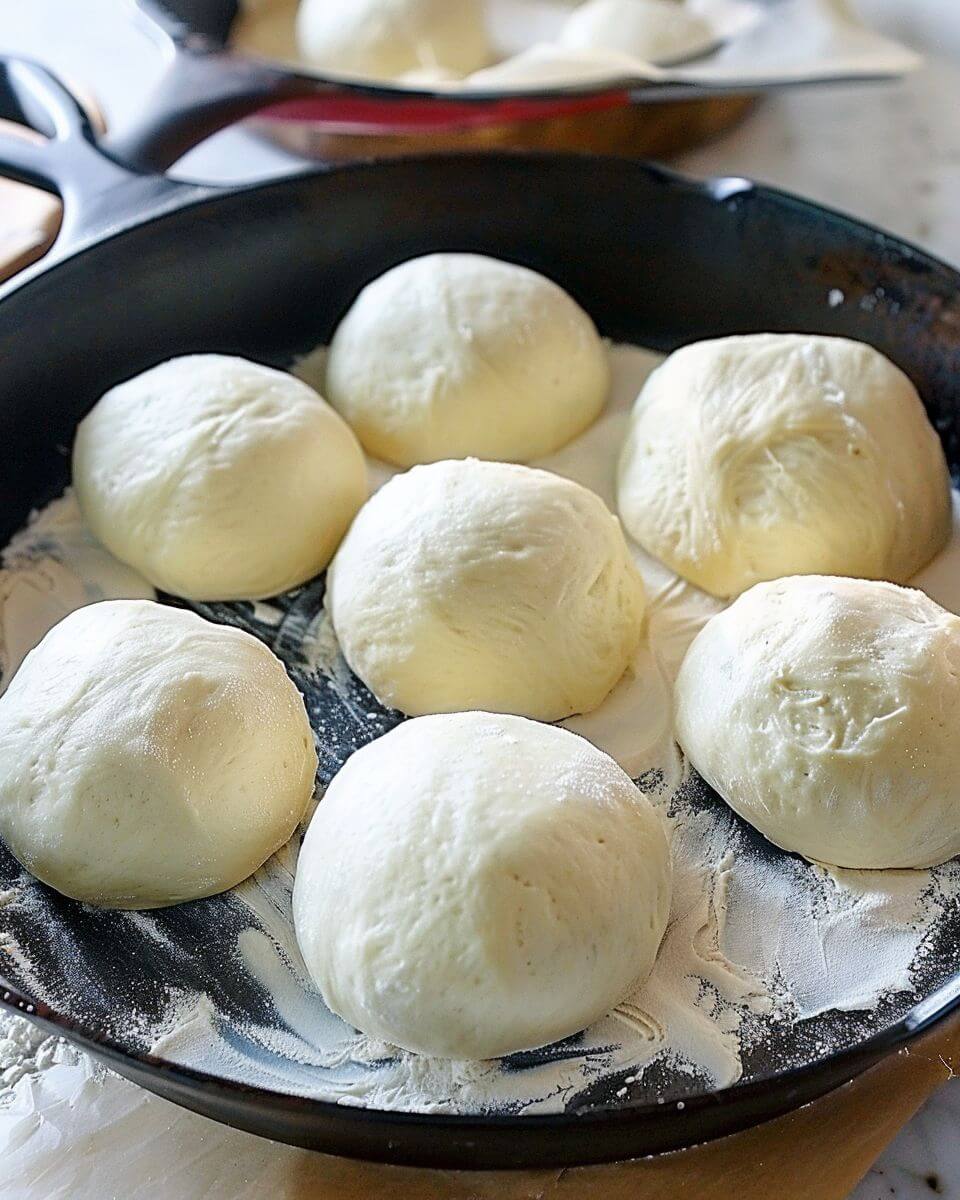
Punch it down again and divide it into 24 pieces.
Shape each piece into a smooth ball and place the rolls in greased baking pans.
Leave a little space between them so they can rise.
They’ll puff up and get cozy with each other.
Very relatable.
8. Let them rise again.
Cover the pans and let the rolls rise in a warm place for about 45–60 minutes, or until puffy.
Cold dough may take a little longer, especially if your kitchen is chilly.
Be patient.
Rolls can sense rushing.
Okay, not really. But they do need time.
9. Bake until golden.
Preheat the oven to 375°F.
Bake the rolls for 15–18 minutes, or until the tops are golden brown.
Brush with melted butter as soon as they come out of the oven.
This is the moment.
The smell. The shine. The soft tops.
Try not to eat one immediately.
Actually, never mind. Eat one.
Tips That Actually Help
Homemade rolls are simple, but a few small details make them softer and fluffier.
Don’t use water that’s too hot.
Hot water can kill the yeast.
Add flour slowly.
Soft dough makes softer rolls.
Let the dough chill long enough.
Refrigerator time improves flavor and makes shaping easier.
Give the second rise enough time.
Puffy rolls bake up lighter.
Brush with butter after baking.
It keeps the tops soft and adds flavor.
And one more thing? Don’t stress if every roll isn’t perfectly round.
Homemade rolls are supposed to look handmade.
A little unevenness says, “Someone made these with love.”
Or at least with flour on their shirt.
Same thing, really.
Variations (Because Everyone Likes Something Different)
Once you know the basic refrigerator roll dough, you can use it in so many ways.
1. Honey Butter Rolls
Brush the warm rolls with melted butter mixed with honey.
They become slightly sweet, glossy, and almost impossible to stop eating.
Perfect for Sunday supper.
2. Garlic Herb Rolls
Mix melted butter with garlic powder, parsley, and a pinch of salt.
Brush it over the rolls after baking.
These are wonderful with pasta, soup, roast chicken, or honestly anything involving a plate.
3. Parker House Style Rolls
Roll the dough flat, cut into circles, brush with butter, and fold each circle in half.
They bake up tender with a buttery little pocket inside.
Very old-fashioned. Very charming.
4. Cinnamon Breakfast Rolls
Roll the dough into a rectangle and spread it with butter, cinnamon, and brown sugar.
Roll it up, slice, rise, and bake.
Add icing if you want the full bakery moment.
And yes, this means one dough can become dinner rolls or breakfast.
That feels like winning.
5. Sandwich Rolls
Shape the dough into slightly larger rolls and bake until golden.
Use them for leftover ham, turkey sliders, chicken salad, or little lunchbox sandwiches.
Fresh roll sandwiches hit differently.
They just do.
Make-Ahead + Storage
This is where refrigerator rolls really shine.
They’re made for planning ahead, which is helpful when the kitchen already has enough going on.
Make-Ahead:
You can make the dough the night before and refrigerate it overnight.
You can also keep the dough chilled for up to 24 hours before shaping and baking.
Storage:
Room Temperature: Up to 2 days in an airtight bag or container
Fridge: Up to 5 days, though they may dry out a bit
Freezer: Up to 2 months
Reheating:
Warm the rolls in a 300°F oven for about 8–10 minutes.
You can also microwave one roll for about 10–15 seconds if you just need a quick soft roll with butter.
If freezing, let the baked rolls cool completely first. Then wrap them well and place them in a freezer bag.
To serve, thaw and warm gently.
They won’t taste exactly like fresh-from-the-oven rolls, but they’ll still be very good.
Especially with butter.
Butter fixes a lot.
What to Serve With Them
Mother’s refrigerator rolls go with almost everything, which is part of why they’re so loved.
They’re soft enough for holiday dinners and simple enough for weeknight meals.
Simple Pairings:
Pot roast
Roast chicken
Turkey and gravy
Ham
Vegetable soup
Chicken noodle soup
Beef stew
Mashed potatoes
Green beans
Honey butter
Jam or preserves
They’re also wonderful on a holiday table.
Thanksgiving, Christmas, Easter—these rolls fit right in next to the casseroles, cranberry sauce, and the one dish everyone insists has to be made “the usual way.”
Every family has that dish.
Maybe two.
Conclusion
Here’s the thing about Mother’s refrigerator rolls—they’re more than bread.
They’re comfort.
They’re the smell of a warm kitchen, the soft pull of a fresh roll, the little swipe of butter melting into the middle before it even reaches the table. They’re practical too, because the dough can be made ahead and baked when you need it.
That’s what makes them special.
Not complicated. Not showy. Just soft, golden rolls that make dinner feel a little more cared for.
Maybe it’s the make-ahead dough. Maybe it’s the buttery tops. Maybe it’s the way everyone reaches for one before the basket even makes it around the table.
Whatever the reason, these rolls have a way of becoming a family favorite.
Especially when they’re served warm.
Maybe with extra butter.
Mother’s Refrigerator Rolls
Ingredients
Method
- In a large mixing bowl, combine the warm water, active dry yeast, and a small pinch of the sugar.
- Let the yeast mixture sit for 5–10 minutes, until foamy.
- Add the remaining sugar, softened butter, warm milk, eggs, and salt to the yeast mixture.
- Stir until mostly combined; the butter may remain slightly lumpy.
- Add the flour 1 cup at a time, stirring after each addition. Start with 5 1/2 cups and add more only if the dough is too sticky to handle.
- Turn the dough onto a lightly floured surface and knead for 6–8 minutes, until smooth, elastic, and soft. If using a stand mixer, knead with the dough hook on low speed for 4–5 minutes.
- Place the dough in a greased bowl and turn once so the top is lightly coated.
- Cover and let rise in a warm place for about 1 hour, or until doubled in size.
- Punch the dough down gently, cover the bowl tightly, and refrigerate for at least 4 hours or overnight.
- When ready to bake, remove the dough from the refrigerator and punch it down again.
- Divide the dough into 24 pieces and shape each piece into a smooth ball.
- Place the rolls in greased baking pans, leaving a little space between them.
- Cover and let rise in a warm place for 45–60 minutes, or until puffy.
- Preheat the oven to 375°F.
- Bake for 15–18 minutes, or until the tops are golden brown.
- Brush the warm rolls with melted butter as soon as they come out of the oven.