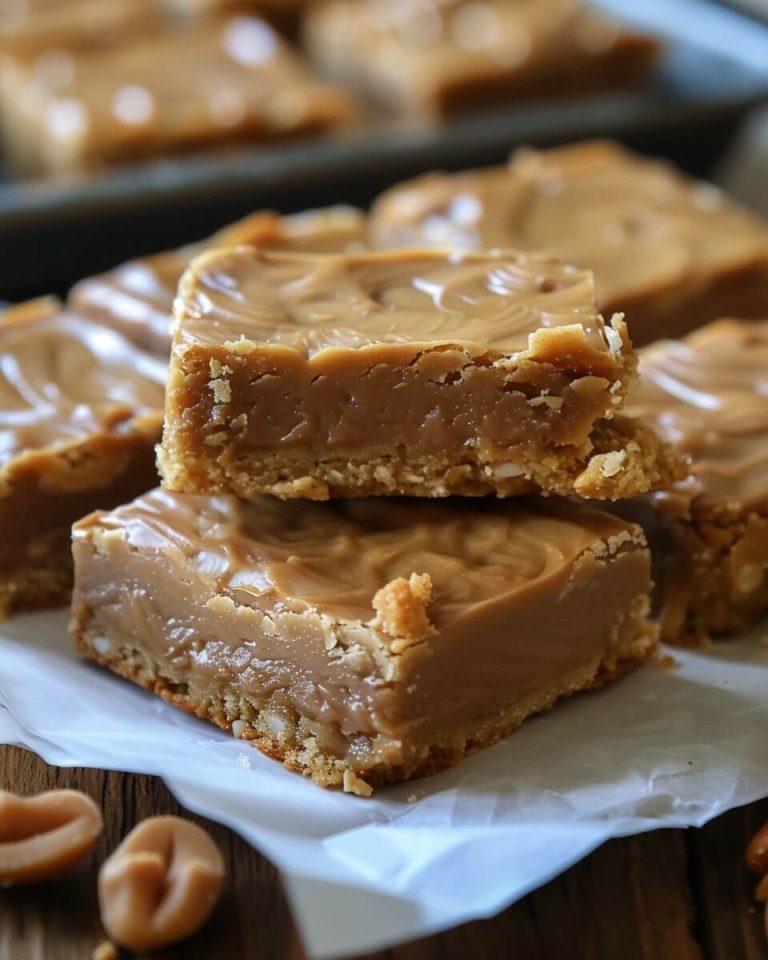
Peanut Butter Lunch Lady Cookie Bars
Peanut Butter Lunch Lady Cookie Bars (Soft, Frosted, and Pure Comfort)
There’s something about school cafeteria desserts that sticks with you.
Not necessarily because they were fancy—far from it—but because they were reliable. You knew exactly what you were getting. Soft, sweet, comforting, and just indulgent enough to feel like a treat in the middle of an ordinary day.
These Peanut Butter Lunch Lady Cookie Bars bring all of that back.
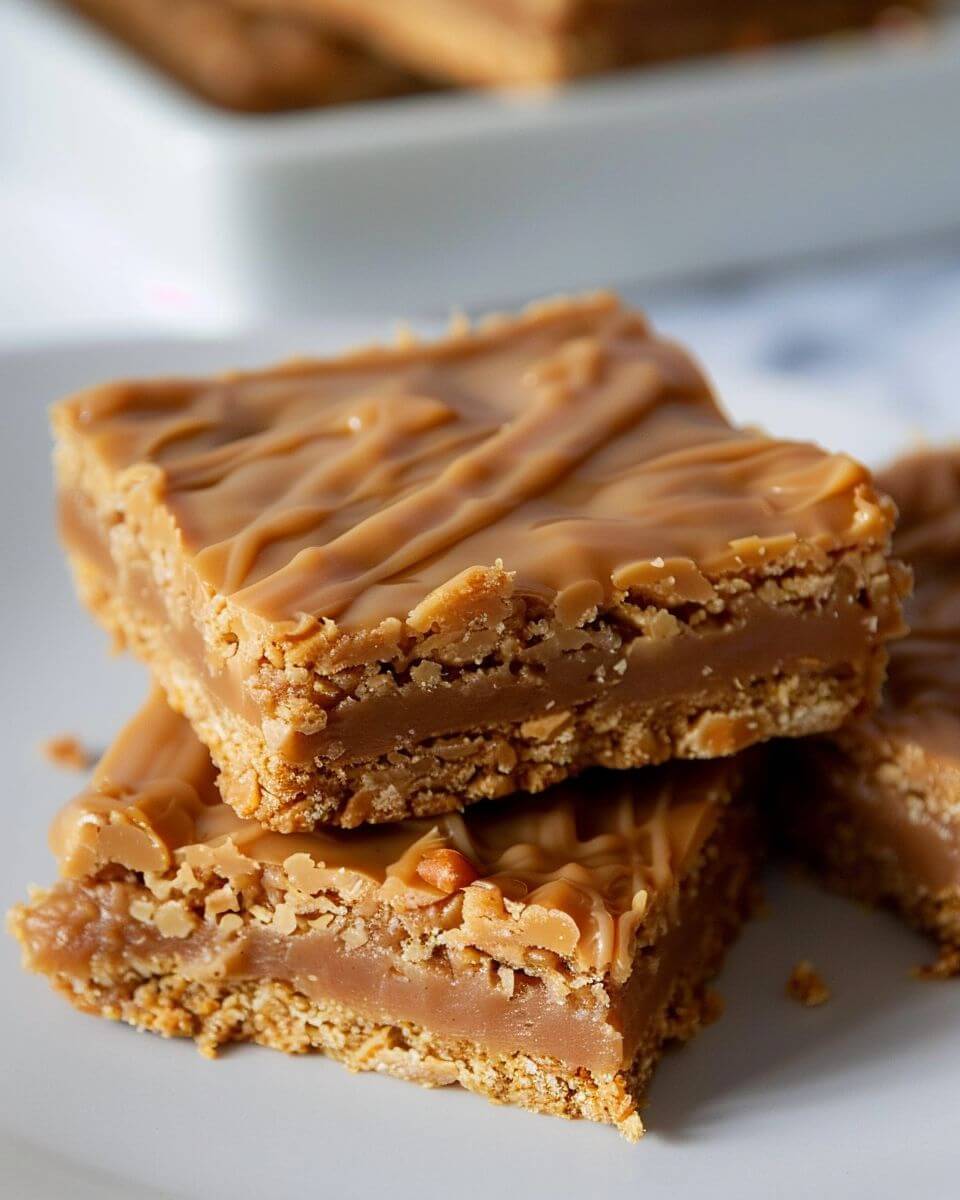
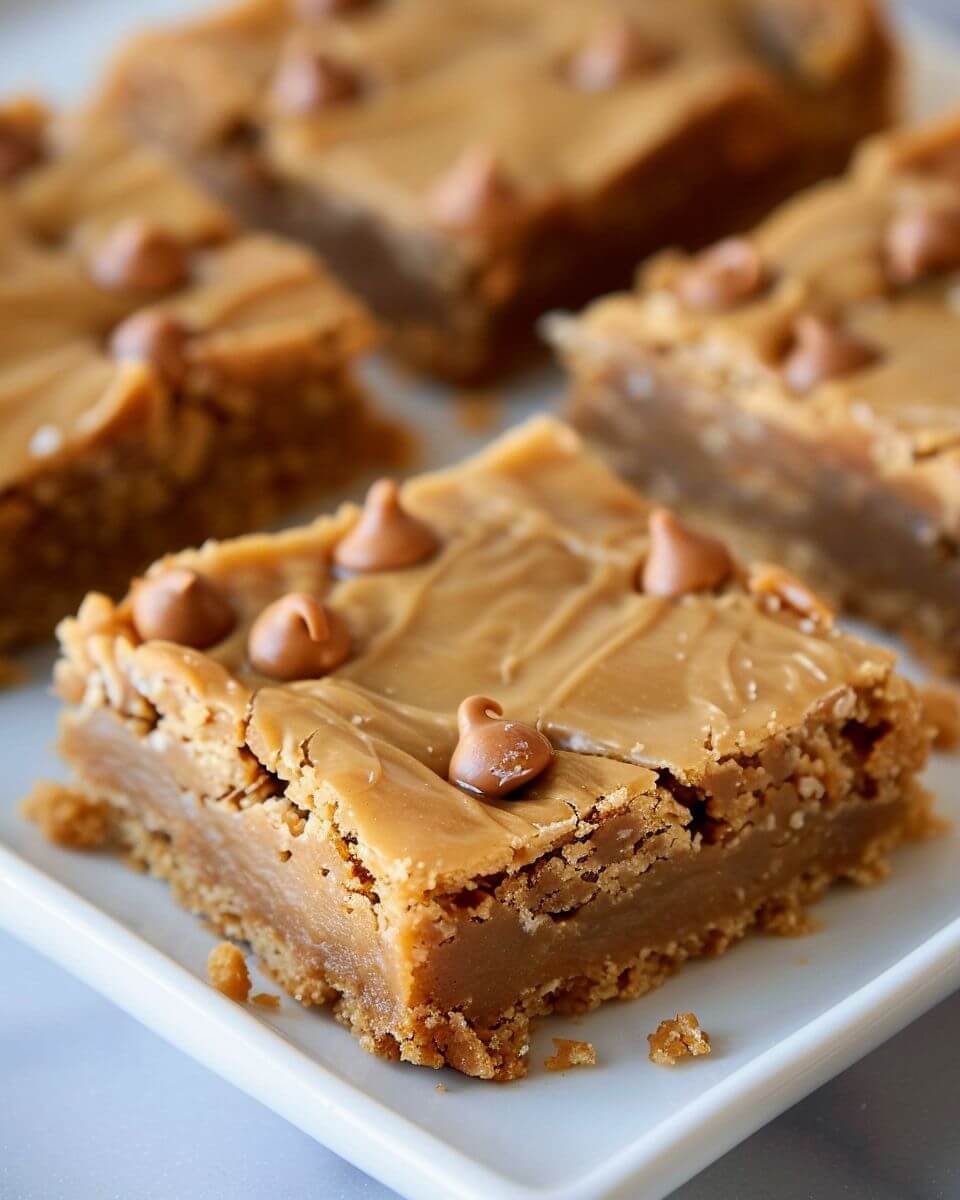
They’re thick, soft, slightly chewy, and topped with a smooth peanut butter frosting that melts just enough into the warm base to create that signature finish. If you’ve ever had one, you already know the texture. If you haven’t—well, this is one of those recipes that explains itself pretty quickly after the first bite.
And here’s the best part: they’re incredibly easy to make. No scooping individual cookies, no complicated steps. Just one pan, one bake, and you’re done.
Why These Bars Work (And Why They’re Always a Hit)
Let’s be honest—peanut butter desserts can sometimes miss the mark.
Too dry. Too crumbly. Too sweet.
These avoid all of that.
You get:
- A soft, cake-like base that holds together without being dense
- A rich peanut butter flavor that’s present but not overpowering
- A smooth frosting that adds just enough sweetness and moisture
- A texture that stays tender even the next day
And because they’re baked in a single pan, they’re consistent—every piece comes out just right.
Ingredients (Simple Pantry Staples)
For the bars:
- 2 cups all-purpose flour
- 2 cups granulated sugar
- 1 teaspoon baking soda
- ½ teaspoon salt
- 1 cup unsalted butter
- 1 cup water
- ½ cup creamy peanut butter
- 2 large eggs
- ½ cup buttermilk (or milk + a splash of vinegar)
- 1 teaspoon vanilla extract
For the frosting:
- ½ cup unsalted butter
- ½ cup peanut butter
- ¼ cup milk
- 3–4 cups powdered sugar
- 1 teaspoon vanilla
A few helpful notes before you start:
Creamy peanut butter works best
It blends smoothly and keeps the texture consistent.
Buttermilk adds tenderness
It helps create that soft, slightly fluffy crumb.
Don’t overbake
This is key—overbaking dries them out quickly.
Step-by-Step (Straightforward and Forgiving)
Start by preheating your oven to 350°F and greasing a large sheet pan (or lining with parchment).
In a large bowl, whisk together flour, sugar, baking soda, and salt.
Set aside.
Melt and Mix (Where It Gets Easy)
In a saucepan, combine:
- Butter
- Water
- Peanut butter
Heat gently until everything is melted and smooth.
Pour this warm mixture into your dry ingredients and stir to combine.
Add the Wet Ingredients
Mix in:
- Eggs
- Buttermilk
- Vanilla
Stir until smooth.
The batter will be thin—that’s normal.
Pour it into your prepared pan and spread evenly.
Bake (Watch Closely Toward the End)
Bake for about 18–22 minutes.
You’re looking for:
- A set center
- Light golden edges
- A toothpick that comes out mostly clean
Don’t wait for it to be deeply browned—that’s where dryness starts.
Make the Frosting (While Bars Are Still Warm)
In a saucepan, melt:
- Butter
- Peanut butter
- Milk
Remove from heat and whisk in powdered sugar and vanilla until smooth.
Frost While Warm (This Is the Signature Move)
Pour the frosting over the warm bars.
Spread evenly.
The warmth helps the frosting settle and slightly soak into the top layer, creating that soft, almost melt-in finish.
Let everything cool completely before cutting.
Texture Tips (This Is What Makes Them Special)
If you want that classic “lunch lady” texture:
Don’t overmix the batter—just combine until smooth.
Don’t overbake—the bars should stay soft.
Frost while warm so the layers meld slightly.
You’re aiming for soft, tender, and just a little rich—not dense or crumbly.
Make-Ahead & Storage (Perfect for Busy Weeks)
These bars hold up really well.
You can:
- Store at room temperature for 2–3 days
- Refrigerate for longer storage
- Freeze individual pieces
They stay soft, which makes them great for prepping ahead.
Serving Ideas (Simple and Familiar)
Serve them:
- As an after-school treat
- At potlucks or gatherings
- With coffee or tea
- As a simple dessert after dinner
They don’t need anything extra—but a glass of milk never hurts.
A Small Real-Life Note
Some edges might bake a little more than the center.
Some frosting might pool slightly in spots.
That’s all part of the charm.
Why These Bars Feel So Familiar
There’s something about this style of dessert that feels comforting in a very specific way.
It’s not fancy. It’s not trying to impress.
It just works.
And sometimes, that’s exactly what you want.
Conclusion
These Peanut Butter Lunch Lady Cookie Bars combine simplicity, consistency, and comforting flavor into a dessert that’s easy to prepare and widely enjoyed. With their soft texture and smooth frosting, they deliver a balanced sweetness without requiring complicated steps.
They’re well-suited for both everyday treats and shared occasions, offering a reliable option that holds up well over time.
And once you’ve made them, they tend to become one of those recipes you return to—because they consistently deliver exactly what you expect.
Peanut Butter Lunch Lady Cookie Bars
Ingredients
Method
- Preheat oven to 400°F and prepare a large baking sheet.
- Mix flour, sugar, baking soda, and salt in a bowl.
- Whisk milk, vanilla, and eggs in a separate bowl.
- Melt butter and peanut butter together, then stir into dry ingredients.
- Add egg mixture and mix until smooth.
- Spread batter evenly and bake for about 20 minutes.
- Cool completely before frosting.
- For frosting, melt butter and peanut butter, stir in milk and powdered sugar until smooth.
- Spread frosting over cooled bars and let set before slicing.
Notes