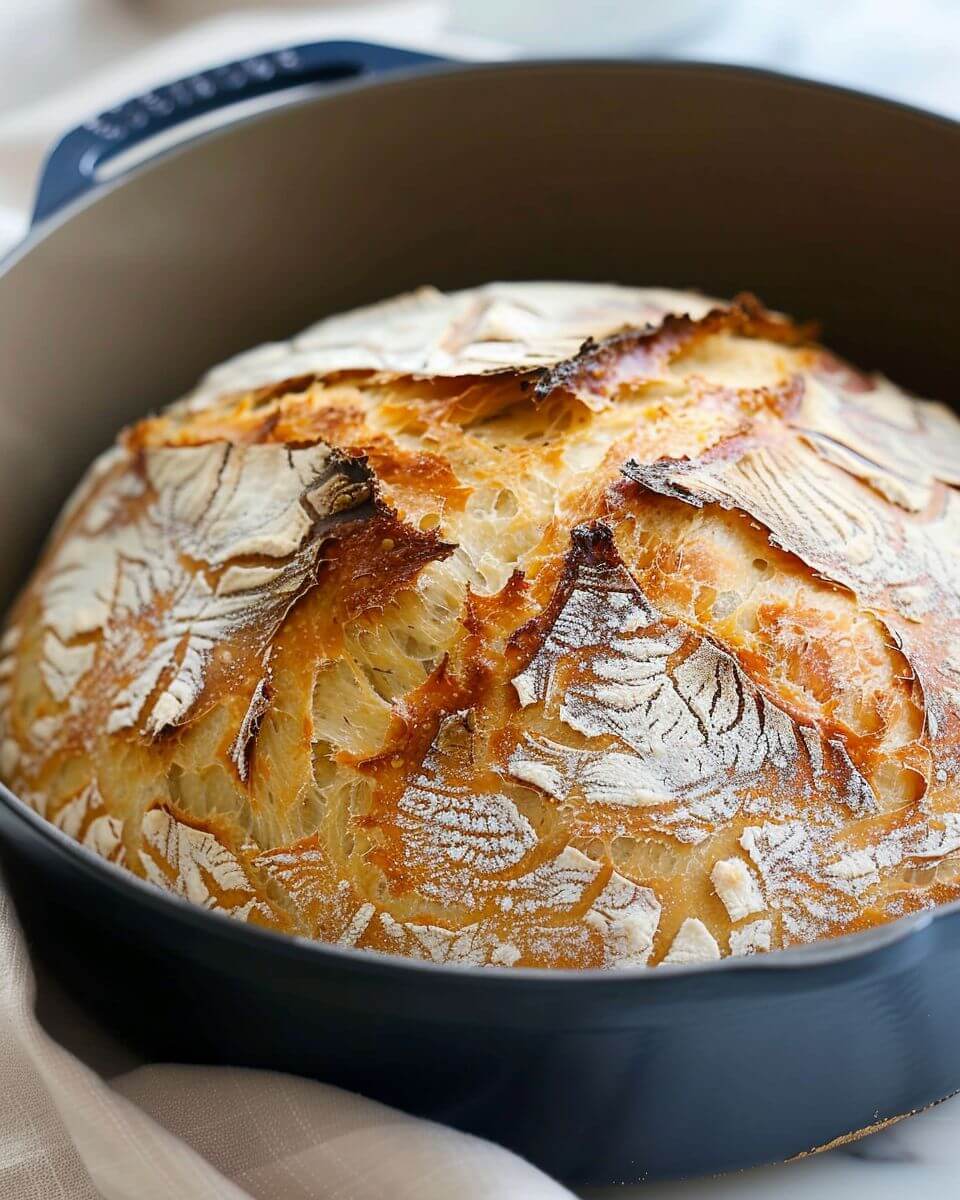
No Knead Bread
No-Knead Bread (The Homemade Loaf That Feels Like Magic Every Time)
There’s something almost unreasonable about making bread from four basic ingredients and pulling out a loaf that looks like it came from an artisan bakery.
Honestly, it feels a little like cheating.
That’s the beauty of No-Knead Bread.
No complicated shaping. No stand mixer. No long kneading sessions where flour ends up on every surface in the kitchen. Just a simple dough, time doing most of the work, and a very hot pot transforming it into something with a crackling crust and soft, airy interior.
And once you make it once—really make it and hear that crust crackle while it cools—you start to understand why people become obsessed with homemade bread.
Because it isn’t just bread.
It’s the smell in the kitchen.
It’s tearing into a warm slice before it’s technically cool enough.
It’s feeling oddly proud of flour, water, salt, and yeast.
And yes… it’s also ridiculously good.
Why This Recipe Works (And Why It Feels Almost Foolproof)
Traditional bread often sounds intimidating.
Kneading.
Proofing.
Shaping.
Scoring.
Words that can make people quietly back away and buy a bakery loaf instead.
But no-knead bread changes all of that.
The secret is time.
A long rise develops gluten naturally, which means you don’t need intensive kneading to create structure. The dough does the work while you live your life.
Then there’s the hot Dutch oven method.
That heavy covered pot traps steam during baking, which creates:
- That deeply golden crust
- Those lovely air pockets inside
- A loaf with that artisan-style chew people love
It’s a smart technique disguised as a simple recipe.
And I love recipes like that.
Ingredients (Almost Comically Simple)
You need only:
- 3 cups all-purpose flour
- 1 ½ teaspoons salt
- ½ teaspoon instant yeast
- 1 ½ cups warm water
That’s it.
That’s the whole thing.
Four ingredients.
And somehow… bread.
A Few Ingredient Notes That Matter
Flour
Regular all-purpose works beautifully. Bread flour gives slightly chewier texture, but either works.
Yeast
Instant yeast keeps it simple. If using active dry yeast, bloom it first.
Salt
Don’t skip or reduce too much. Bread needs seasoning.
Water temperature
Warm, not hot. Think pleasantly warm tap water, not bathwater for dragons.
Step One: Make the Shaggy Dough
In a large bowl, combine flour, salt, and yeast.
Pour in the warm water and stir until everything comes together into a rough, sticky dough.
It will not look elegant.
It may look too wet.
You may question whether this is bread.
Ignore those thoughts.
That shaggy mess is exactly what you want.
Cover the bowl with plastic wrap or a towel.
Then walk away.
The Long Rise (Where the Magic Happens)
Let it sit at room temperature 12–18 hours.
Yes.
Hours.
This is the part people resist at first.
Then they realize it’s actually the easiest part.
You’re doing nothing.
The dough will become bubbly, loose, and alive-looking.
It develops flavor slowly, almost the way good soup does after sitting overnight.
There’s a quiet kind of brilliance in letting time do what effort usually does.
Shaping (And I Use That Word Loosely)
Turn the dough onto a floured surface.
It will be sticky.
Use floured hands and fold the edges toward the center a few times.
That’s basically your shaping.
No dramatic bread artistry needed.
Form a rough round.
Place it on parchment or a floured towel.
Cover and let it rest another 30–45 minutes while your oven heats.
The Dutch Oven Trick (This Changes Everything)
Put a Dutch oven (like Le Creuset or any heavy lidded pot) in the oven and preheat to 450°F.
This part matters.
That blazing hot pot creates the steam environment that gives bakery-style crust.
And honestly—when people ask why this bread works so well?
This is a huge reason.
Once hot, carefully lower the dough in.
Lid on.
Into the oven.
Bake Covered… Then Uncovered
Bake:
- 30 minutes covered
- 10–15 minutes uncovered
Covered = steam and oven spring.
Uncovered = deep golden crust.
And when you remove the lid halfway through?
That moment feels theatrical.
Suddenly it looks like real bread.
Not “I made bread at home” bread.
Actual beautiful bread.
Let It Cool (Even Though It’s Hard)
This may be the hardest step.
Let the loaf cool before slicing.
I know.
Warm bread is calling.
But cooling lets the crumb set properly.
Slice too early and it can turn gummy.
Wait if you can.
At least mostly.
(Or tear off a tiny edge. I’m not judging.)
Texture Tips (For That Dreamy Crust)
For best results:
Don’t add too much flour even if dough seems sticky.
Sticky dough = airy crumb.
Preheat that Dutch oven fully.
Really fully.
And bake until deeply golden.
Pale bread tastes unfinished.
Color means flavor.
Always.
What It Tastes Like
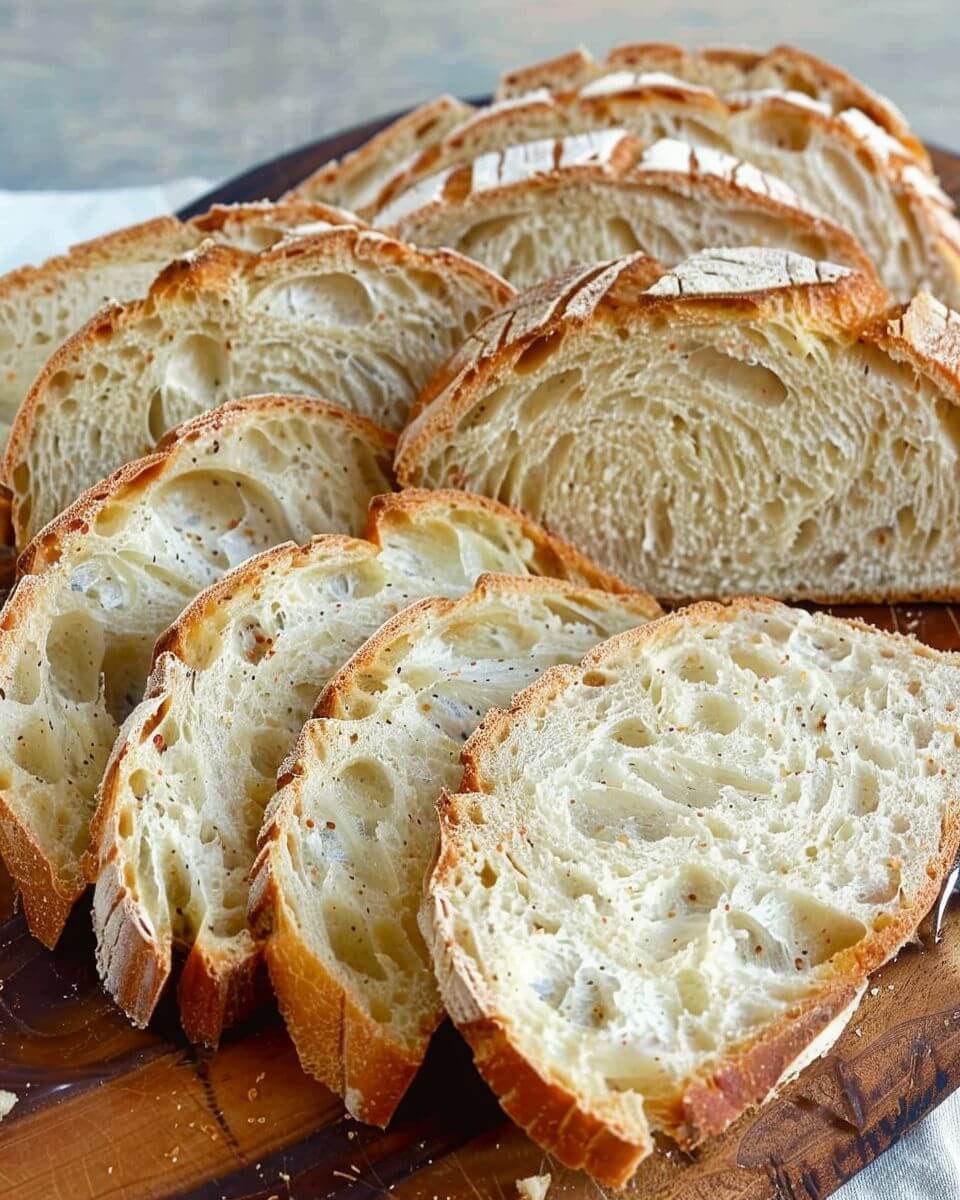
This loaf gives you:
- Crackly crust that shatters slightly
- Chewy interior with beautiful holes
- Deep developed flavor from slow fermentation
- That unmistakable homemade warmth
And somehow it tastes even better because you made it.
I swear that’s a real ingredient.
Make-Ahead & Storage (Yes, Homemade Bread Can Be Practical)
People think homemade bread has to be same-day only.
Not true.
Store it:
- Wrapped in a towel at room temp 2 days
- Slice and freeze for longer
And stale bread?
Never waste it.
Turn it into:
- Croutons
- Bruschetta
- Bread pudding
- Toast that rivals anything store-bought
Honestly, day-two toast from homemade bread is a quiet luxury.
Serving Ideas (This Bread Does Everything)
Obviously:
Warm with butter.
But also:
- With soup
- For grilled cheese
- With olive oil and flaky salt
- For avocado toast
- Alongside pasta
- Torn beside a roast dinner
And thick toasted slices with jam in the morning?
Dangerously good.
A Small Real-Life Note
Your first loaf may be misshapen.
Mine was.
Maybe it spreads oddly.
Maybe it browns darker on one side.
Maybe you cut it too early because you couldn’t help yourself.
Still wonderful.
Rustic bread is forgiving.
Actually… its imperfections are part of the charm.
Why This Recipe Changes People
That sounds dramatic.
But homemade no-knead bread has converted a lot of “I don’t bake bread” people.
Because it makes bread feel possible.
Accessible.
Even relaxing.
And once you realize you can make a loaf this good with almost no active work?
It shifts something.
You start thinking:
Maybe I can bake bread.
And you can.
Conclusion
No-Knead Bread proves that extraordinary results don’t always require complicated methods. With just a handful of pantry staples, a long rise, and a hot Dutch oven, you get a loaf with artisan-level texture and flavor through a process simple enough for everyday home baking.
It’s practical, deeply satisfying, and endlessly versatile—whether served beside dinner, turned into toast, or simply torn apart warm from the loaf.
And once you hear that crust crackle and slice into your first homemade loaf, there’s a good chance store-bought bread starts feeling just a little less exciting.
No Knead Bread
Ingredients
Method
- In a large bowl, combine flour, yeast, and salt. Stir in warm water until a shaggy dough forms and all flour is incorporated.
- Cover the bowl and let the dough rise at room temperature for 12 to 18 hours until bubbly and doubled in size.
- Turn dough onto a lightly floured surface and gently shape into a ball.
- Place a Dutch oven with lid in the oven and preheat to 450°F.
- Carefully place dough into the hot Dutch oven, cover, and bake 30 minutes. Remove lid and bake 10 to 15 minutes more until golden brown.
- Transfer bread to a wire rack and cool before slicing.
Notes