Red Velvet Cream Cheese Thumbprint Cookies
Red Velvet Cream Cheese Thumbprint Cookies (Soft, Rich, and Made to Impress Without Stress)
There’s something about red velvet that just feels a little more festive than everything else.
Maybe it’s the color—deep, rich, and unmistakably holiday-ready. Maybe it’s the flavor, that subtle cocoa note paired with a gentle tang. Or maybe it’s just that red velvet desserts always seem to show up when things feel a little more special.
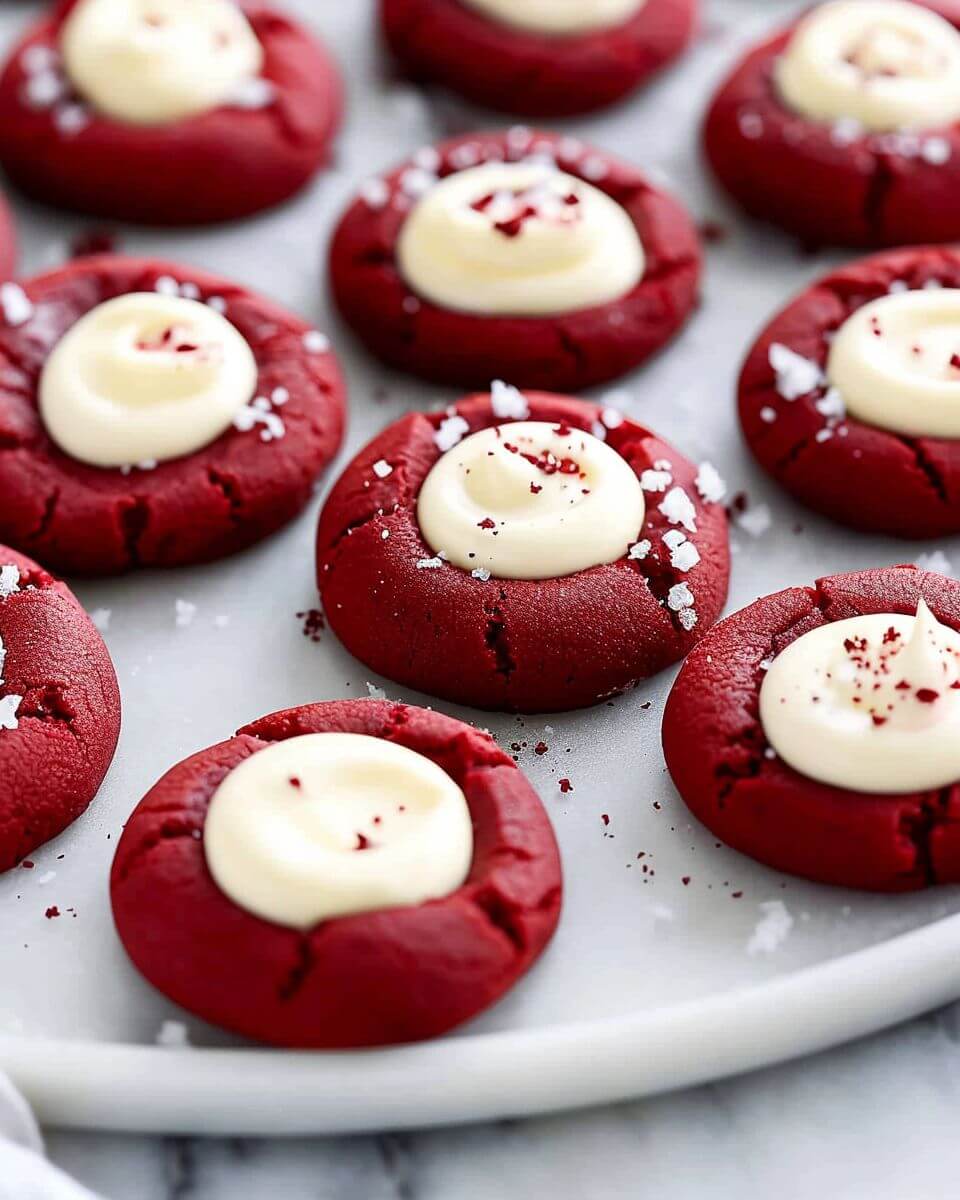
These Red Velvet Cream Cheese Thumbprint Cookies bring all of that into one bite-sized treat.
They’re soft, slightly chewy, with just enough cocoa to remind you what you’re eating—but not so much that it turns into a full chocolate cookie. And then there’s the center: a creamy, lightly sweet cream cheese filling that balances everything out.
Honestly? They look like something you’d pick up at a bakery… but they’re completely doable at home.
Why These Cookies Work (It’s All About Balance)
Let’s break it down.
Red velvet on its own can sometimes feel a little one-note if it’s not done right. But here, it’s paired with a cream cheese filling that adds both richness and a slight tang.
You get:
- Soft, tender cookie texture
- Mild cocoa flavor
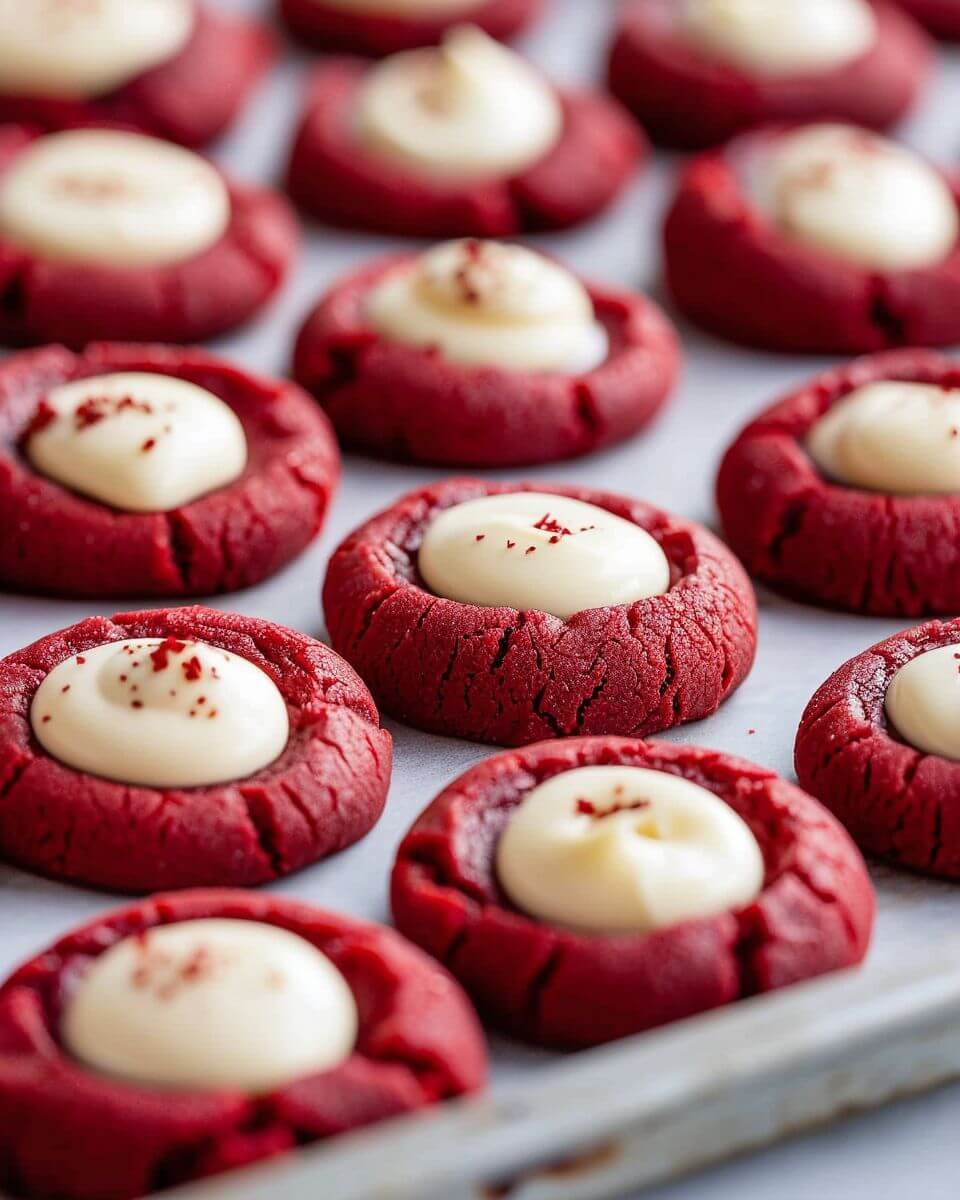
- A creamy center that melts slightly when baked
- A visual contrast that makes them stand out on any tray
It’s not overly sweet. Not overly rich. Just balanced enough to keep you reaching for another.
Ingredients (Simple, Familiar, No Surprises)
For the cookies:
- 2 cups all-purpose flour
- 1 tablespoon cocoa powder
- ½ teaspoon baking soda
- ¼ teaspoon salt
- ¾ cup unsalted butter, softened
- 1 cup granulated sugar
- 1 large egg
- 1 teaspoon vanilla extract
- 1 tablespoon red food coloring
- 1 teaspoon white vinegar
For the filling:
- 6 oz cream cheese, softened
- ¼ cup powdered sugar
- ½ teaspoon vanilla extract
A few helpful notes before you start:
Don’t overdo the cocoa
Red velvet is subtle—it’s not meant to taste like chocolate cookies.
Room temperature ingredients matter
They mix more smoothly and create a better texture.
The vinegar is intentional
It reacts with the baking soda and helps create that soft crumb.
Step-by-Step (Take It One Step at a Time)
Start by preheating your oven to 350°F and lining a baking sheet.
In a bowl, whisk together flour, cocoa powder, baking soda, and salt.
Set aside.
Cream the Butter and Sugar
In a separate bowl, beat the butter and sugar until light and fluffy.
This step is important—it helps create that soft texture.
Add the egg, vanilla, red food coloring, and vinegar.
Mix until smooth and evenly colored.
Bring It Together
Gradually add the dry ingredients into the wet mixture.
Mix until just combined.
Don’t overmix—you want the dough soft, not tough.
Make the Filling
In a small bowl, mix together:
- Cream cheese
- Powdered sugar
- Vanilla
Stir until smooth and creamy.
Shape the Cookies (This Is Easier Than It Sounds)
Scoop out small portions of dough and roll into balls.
Place them on the baking sheet.
Now use your thumb (or the back of a spoon) to gently press an indentation into the center of each cookie.
Don’t press too deep—just enough to hold the filling.
Add the Cream Cheese Center
Spoon a small amount of the cream cheese mixture into each indentation.
Try not to overfill—it can spread while baking.
Bake (Watch the Timing)
Bake for about 10–12 minutes.
You’re looking for:
- Set edges
- Soft centers
- Filling that’s just slightly puffed
Let them cool on the baking sheet for a few minutes before transferring.
Texture Tips (So They Stay Soft)
If you want that perfect soft cookie:
Don’t overbake—they firm up as they cool.
Use softened butter, not melted.
Measure flour correctly (too much = dry cookies).
Make-Ahead & Freezer Tips (Because Holidays Get Busy)
These cookies are great for prepping ahead.
You can:
- Make the dough in advance and refrigerate
- Freeze shaped dough balls (without filling)
- Bake fresh when needed
You can also freeze baked cookies—just thaw before serving.
Serving Ideas (They Deserve a Spot on the Tray)
These cookies look beautiful on their own.
Serve them:
- On holiday cookie trays
- Packaged as gifts
- Alongside coffee or hot cocoa
- As a simple dessert after dinner
They add color and variety to any spread.
A Small Real-Life Note
Some cookies might spread a little more.
Some centers might not look perfectly even.
One might get a slightly crooked filling.
That’s completely fine.
Once they’re on a plate, all anyone notices is how good they taste.
Why These Feel Like a “Special Occasion” Cookie
They’re not complicated—but they feel like they are.
That contrast—the impressive look with a manageable process—is what makes them so satisfying to make.
And once you’ve done it once, it feels much easier the next time.
Conclusion
These Red Velvet Cream Cheese Thumbprint Cookies combine classic flavor with an eye-catching presentation, creating a treat that feels both festive and approachable. With their soft texture and balanced sweetness, they offer a satisfying option for holiday baking or any occasion that calls for something a little extra.
They’re simple enough to prepare without stress, yet distinctive enough to stand out among other desserts.
And once you’ve made them, they tend to become one of those recipes you return to whenever you want something that looks just as good as it tastes.
Red Velvet Cream Cheese Thumbprint Cookies
Ingredients
Method
- Preheat oven to 350°F and line baking sheets.
- Whisk together flour, cocoa, baking powder, baking soda, and salt.
- Cream butter and sugar, then mix in egg, food coloring, and vanilla.
- Combine dry ingredients into wet mixture until just blended.
- Roll dough into balls and press thumbprints into centers.
- Mix cream cheese, powdered sugar, and vanilla for filling.
- Fill each cookie center with cream cheese mixture.
- Bake for 10–12 minutes until set.
- Cool slightly, then drizzle with melted white chocolate if desired.
Notes