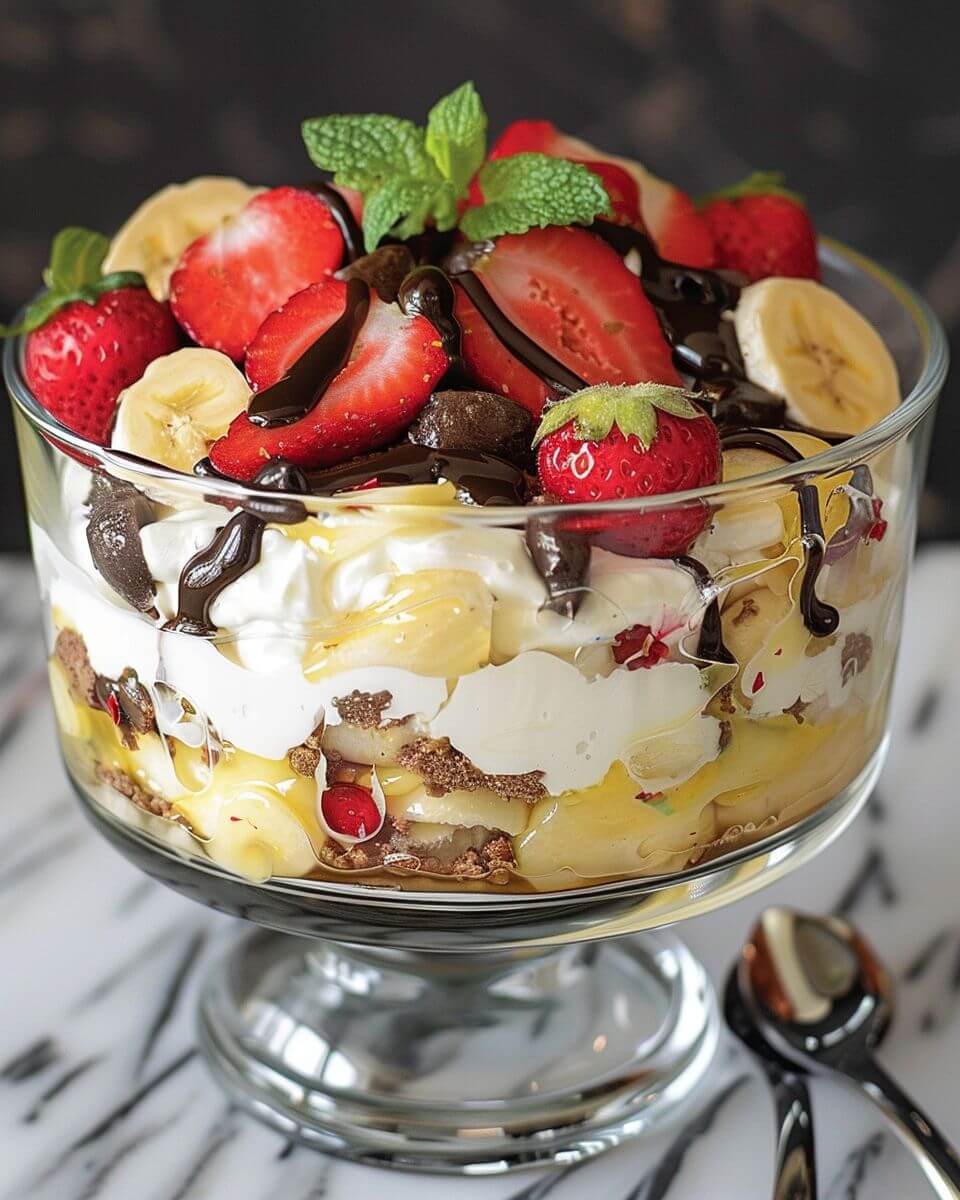
Banana Split Trifle
Banana Split Trifle (Creamy, Chocolatey, and Built for Sharing)
There’s something about a banana split that instantly brings back memories—ice cream dripping down the sides, chocolate syrup, whipped cream piled high, maybe a cherry on top if you were lucky.
Now imagine all of that… layered into a big, scoopable dessert you can make ahead, chill, and serve to a crowd without standing over a melting bowl of ice cream.
That’s exactly what this Banana Split Trifle is.
It takes all those familiar flavors—banana, chocolate, cream, a little crunch—and stacks them into something that feels both nostalgic and practical. It’s not fussy. It’s not complicated. But it looks impressive sitting on the table, and even more importantly—it tastes like something everyone already knows they love.
Why This Recipe Works (Layers Do the Heavy Lifting)
Let’s talk about what makes trifles so appealing.
You’re not baking a delicate cake or worrying about perfect presentation. Instead, you’re layering textures and flavors so each spoonful feels complete.
In this case, you’ve got:
- Soft cake or brownie pieces
- Fresh bananas
- Creamy pudding or whipped layers
- Chocolate and fruit accents
- A little crunch if you want it
Each layer brings something different. Together, they create that “banana split” experience—but in a way that’s easier to serve and share.
Ingredients (Flexible, Forgiving, and Fun)
Base layers:
- 1 prepared chocolate cake or brownies (cut into cubes)
- 3–4 ripe bananas, sliced
- 1 (3.4 oz) box instant vanilla pudding
- 2 cups milk
- 1 (8 oz) container whipped topping
- 1 cup crushed pineapple (drained well)
- 1 cup strawberries, sliced
Optional extras:
- Chocolate syrup
- Chopped nuts (peanuts or walnuts)
- Maraschino cherries
- Mini chocolate chips
A few helpful notes before you start:
Use slightly firm bananas
Too ripe and they’ll get mushy quickly.
Drain pineapple well
Extra liquid can make the layers too soft.
Brownies vs cake
Brownies give a richer base; cake keeps it lighter. Both work.
Step-by-Step (Layering Made Simple)
Start by preparing your pudding.
Whisk the pudding mix with milk until smooth, then let it sit for a few minutes to thicken.
Once set, fold in about half of the whipped topping to create a lighter, creamier layer.
Build the First Layer
In a trifle dish (or any large glass bowl), start with a layer of cake or brownie pieces.
Don’t worry about perfection—just spread them evenly across the bottom.
Add Fruit and Cream
Next, layer:
- Sliced bananas
- Crushed pineapple
- A portion of the pudding mixture
Spread gently so the layers stay distinct.
Repeat the Layers
Continue layering:
- Cake
- Fruit
- Cream
You can add strawberries between layers or save some for the top.
Drizzle a little chocolate syrup between layers if you want that classic banana split flavor to really come through.
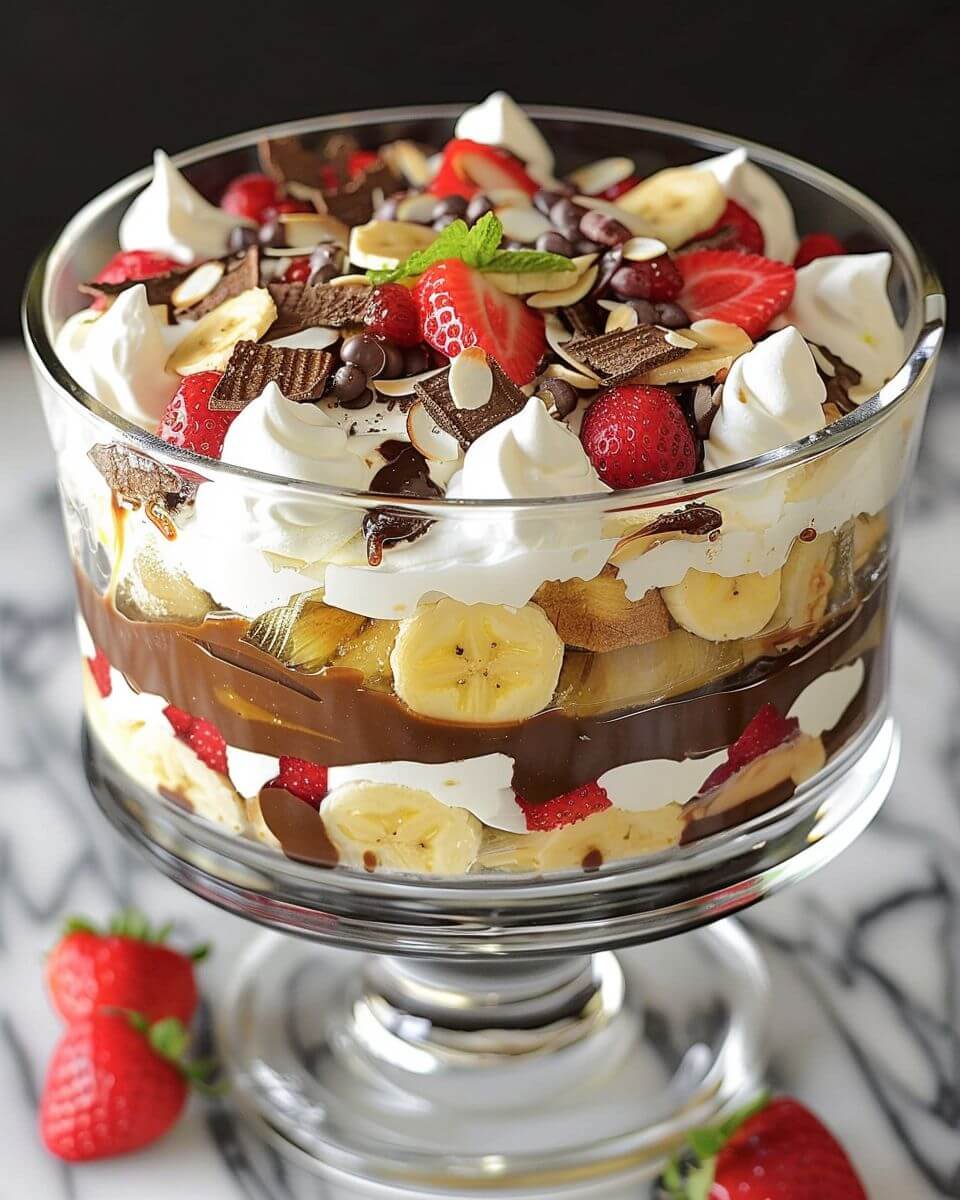
Finish the Top (Where It Gets Fun)
End with a generous layer of whipped topping.
Then decorate with:
- Chocolate syrup
- Strawberries
- Chopped nuts
- Cherries
This is where you can make it look as simple or as festive as you like.
Texture Tips (So It Stays Balanced)
The goal is contrast—not mush.
To keep it just right:
Don’t oversaturate with syrup.
Keep fruit layers evenly distributed.
Use sturdy cake pieces that hold their shape.
And chill it long enough to set—but not so long that everything blends together too much.
Chill Before Serving (This Step Matters)
Refrigerate for at least 2–4 hours.
This allows:
- Flavors to meld
- Layers to settle
- Texture to hold together
It’s one of those desserts that improves with a little time.
Make-Ahead (A Host’s Best Friend)
This is where trifles really shine.
You can:
- Assemble it earlier in the day
- Chill until ready to serve
- Add final toppings just before serving
It’s low-stress, which is exactly what you want when hosting.
Serving Ideas (Casual or Dressed Up)
Serve straight from the dish with a large spoon.
Or portion into:
- Individual cups for parties
- Small jars for grab-and-go desserts
- Bowls for a more casual feel
It works just about any way you serve it.
A Small Real-Life Note
Some layers might mix a little.
Some slices of banana may peek through.
The top might not look perfectly smooth.
That’s completely fine.
This is a dessert meant to feel generous and homemade—not precise.
Why This Dessert Feels Like a Crowd Favorite
It’s familiar.
It’s easy.
And it delivers on flavor without asking for complicated steps.
Plus, it feeds a group—which is always a win.
Conclusion
This Banana Split Trifle transforms a classic dessert into a layered, shareable dish that’s both practical and satisfying. With its combination of creamy, fruity, and chocolate elements, it offers a balanced and approachable dessert option for a variety of occasions.
Its flexibility, make-ahead convenience, and crowd-friendly nature make it a reliable choice whether you’re hosting or simply preparing something special for your family.
And once you’ve served it once, it tends to become one of those desserts people quietly hope you’ll bring again.
Banana Split Trifle
Ingredients
Method
- Prepare cake according to package directions and let cool completely.
- Cut cake into bite-sized cubes.
- Prepare pudding according to package directions.
- Layer half of the cake cubes in a trifle dish.
- Top with half of pudding, bananas, strawberries, pineapple, whipped topping, cherries, chocolate syrup, and nuts.
- Repeat layers with remaining ingredients.
- Chill until ready to serve.
Notes