Butter Swim Biscuits
Butter Swim Biscuits (The No-Fuss, Melt-in-Your-Mouth Kind)
You know those mornings when everyone’s hungry at the same time, and you just need something warm, filling, and fast? These Butter Swim Biscuits are exactly that kind of recipe.
They’re not your classic rolled-and-cut biscuits. No cold butter cubing. No dough folding. No flour-covered countertop. Honestly, that’s the beauty of it.
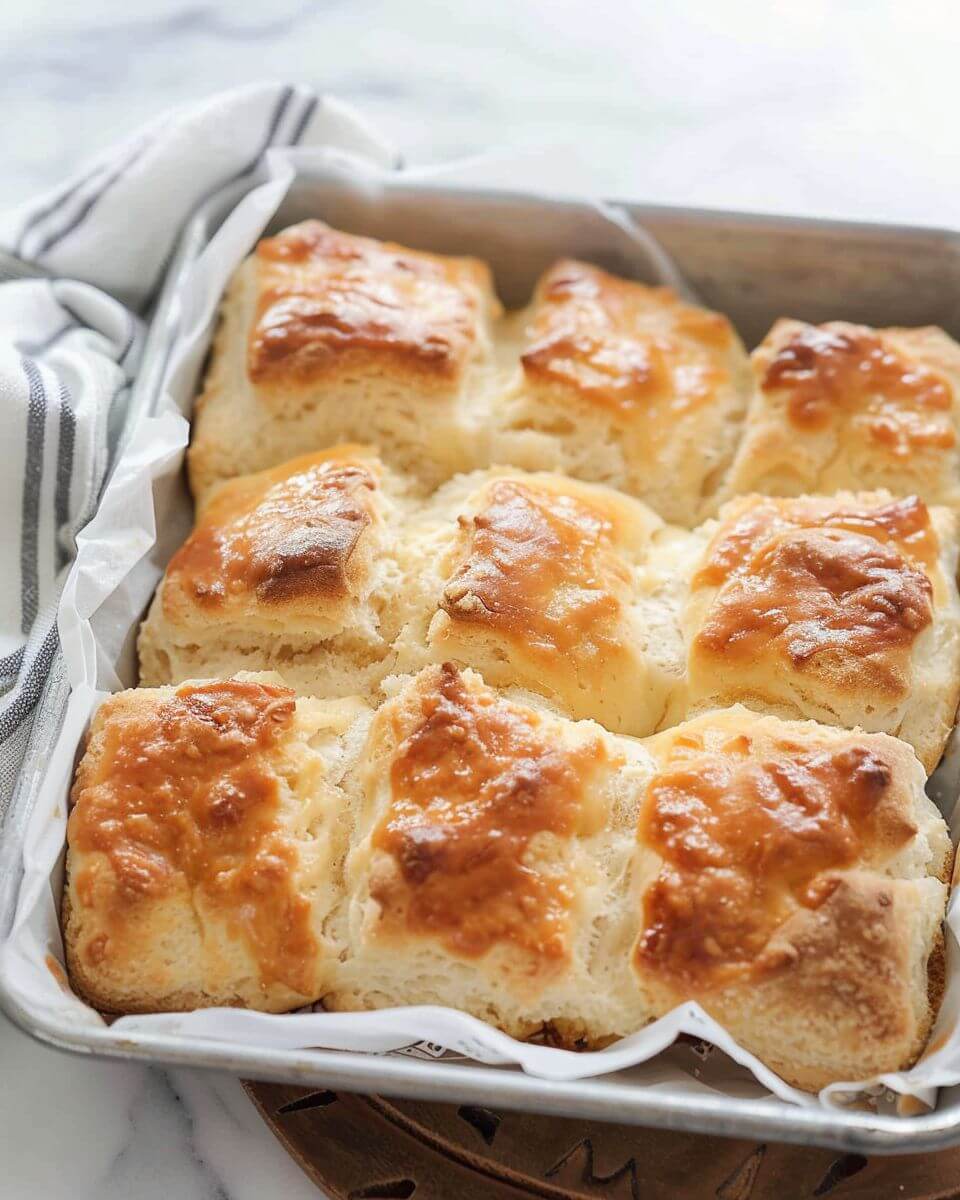
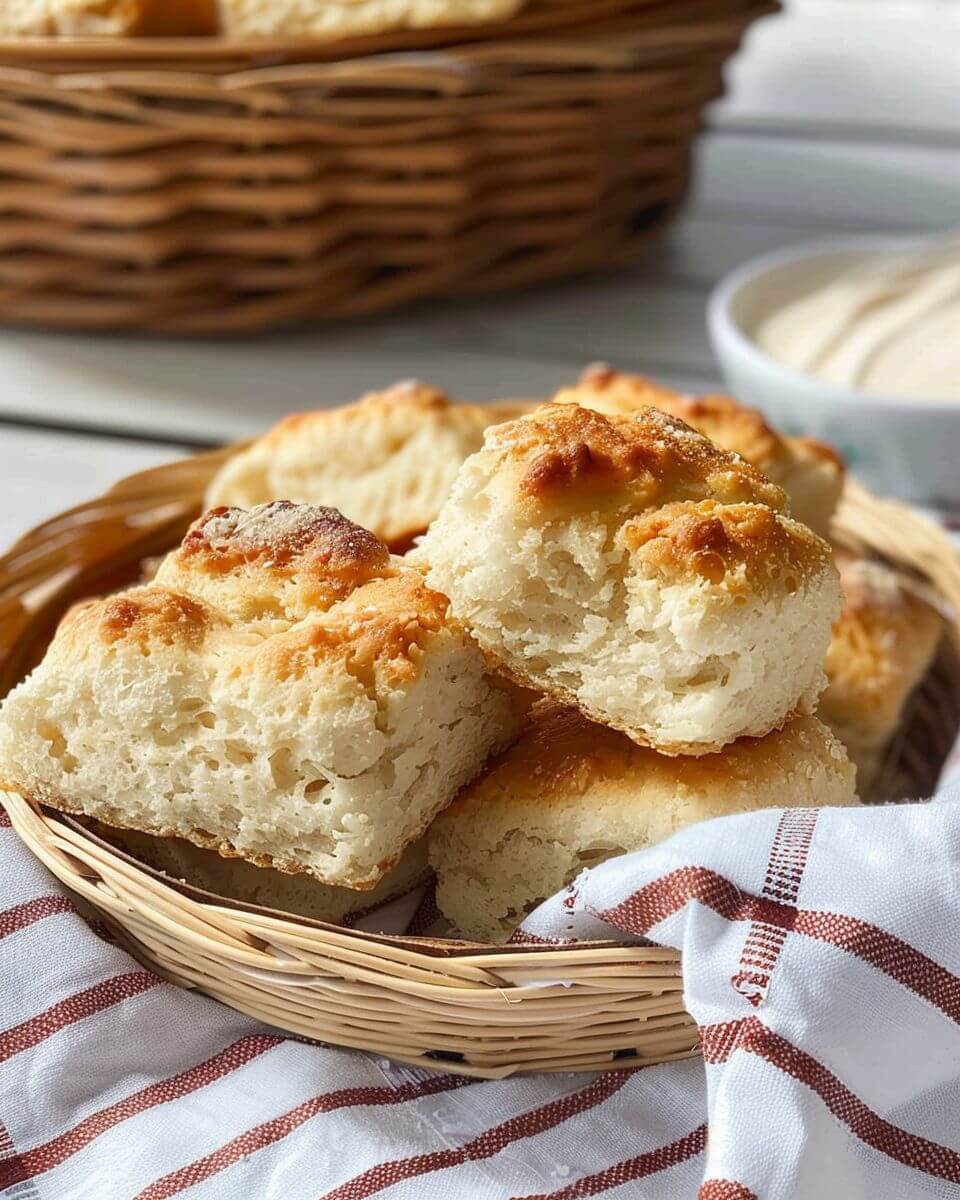
Instead, the dough is poured into a pan of melted butter—yes, literally swimming in butter—and baked into soft, fluffy squares with golden edges. Crisp on the outside, tender inside, and rich in that comforting, “home kitchen” kind of way.
And here’s the quiet truth: once you make these, you might not go back to traditional biscuits very often.
Ingredients (Pantry-Friendly and Forgiving)
Here’s everything you need—and chances are, you already have most of it.
Main Ingredients:
- 2 ½ cups all-purpose flour
- 1 tbsp baking powder
- 1 tbsp sugar
- 1 tsp salt
- 2 cups buttermilk (or substitute below)
- ½ cup (1 stick) unsalted butter
No buttermilk? No problem.
Just mix:
- 2 cups milk + 1 tbsp lemon juice or vinegar
Let it sit for 5 minutes. Done. It’s one of those little kitchen tricks that feels oddly satisfying.
Step-by-Step Instructions (Almost Too Easy)
1. Preheat and melt the butter
Preheat your oven to 450°F.
Place the butter directly into an 8×8 or 9×9 baking dish and pop it in the oven until melted. Keep an eye on it—it melts quickly.
This step alone feels like cheating, doesn’t it?
2. Mix the dry ingredients
In a large bowl, whisk together:
- Flour
- Baking powder
- Sugar
- Salt
Nothing fancy here. Just get it evenly combined.
3. Add the buttermilk
Pour in the buttermilk and stir until a soft dough forms.
It will be sticky. A little messy. Not smooth like traditional dough—and that’s exactly what you want.
4. Pour dough into the butter
Take your melted butter dish out of the oven.
Carefully spread the dough right on top of the butter. Don’t mix it in—the butter should stay underneath and around the edges.
Think of it like the dough is floating.
5. Cut before baking
Using a knife, cut the dough into 9 squares (or more if you want smaller pieces).
This helps them bake evenly and gives you those classic pull-apart edges.
6. Bake
Bake for 20–25 minutes until:
- The top is golden brown
- The edges are crispy
- The center is fully set
Your kitchen will smell… amazing. Like bakery-level amazing.
7. Let them rest (just a bit)
Give them about 5 minutes before serving.
This helps the butter settle into the biscuits instead of pooling at the bottom.
Tips That Actually Make a Difference
These biscuits are simple—but a few small details really matter:
- Don’t overmix the dough: Stir just until combined. Overmixing = dense biscuits.
- Use real butter: This isn’t the time for substitutes. The flavor depends on it.
- Watch the bake time: Overbaking dries them out quickly.
- Cut before baking: It makes serving easier and helps them cook evenly.
Variations (Because One Version Is Never Enough)
1. Cheesy Garlic Biscuits
Add:
- 1 cup shredded cheddar
- 1 tsp garlic powder
Suddenly, they taste like something you’d get at a restaurant.
2. Sweet Breakfast Version
Reduce salt slightly and add:
- 2 tbsp extra sugar
- A drizzle of honey after baking
Perfect with jam or fruit.
3. Herb Butter Biscuits
Mix in:
- Chopped parsley
- A little thyme or rosemary
It gives them that “I tried harder than I did” feel.
4. Kid-Friendly Twist
Keep them plain and serve with:
- Honey
- Peanut butter
- Or even a little chocolate spread
Not traditional—but very effective.
Make-Ahead + Storage (Because Life Doesn’t Pause)
Make-ahead:
You can mix the dry ingredients ahead of time and store them in a sealed container.
When ready, just add the buttermilk and continue.
Storage:
- Keep leftovers in an airtight container for up to 3 days
- Reheat in the oven or microwave
Quick tip: a few seconds in the microwave brings them right back to life.
Freezing:
Yes, you can freeze them.
- Let them cool completely
- Freeze in a sealed bag
- Reheat in the oven for best texture
What to Serve With Butter Swim Biscuits
These biscuits are surprisingly versatile.
Breakfast ideas:
- Scrambled eggs and bacon
- Sausage gravy
- Fresh fruit on the side
Dinner pairings:
- Soup (tomato, chicken noodle, chili)
- Roasted chicken
- Simple salads
Or honestly? Just eat one warm with butter and call it a moment.
A Little Real-Life Note
There’s something about recipes like this. They’re not complicated. They don’t require planning three steps ahead.
But they show up when you need them.
Whether it’s a rushed school morning or a quiet weekend breakfast, these biscuits feel like something more than just food. They feel… reliable.
And sometimes, that’s exactly what matters.
Conclusion
Butter Swim Biscuits are one of those rare recipes that check every box—easy, quick, comforting, and flexible enough for real family life. No special skills, no fancy tools, just simple ingredients coming together in the best possible way.
If you’ve ever felt intimidated by homemade biscuits, this is your way in. And once you try them, you’ll see why so many moms keep this recipe in regular rotation.
They’re warm, buttery, and just a little bit indulgent—in the best sense of the word. And honestly, that’s the kind of recipe worth holding onto.
Butter Swim Biscuits
Ingredients
Method
- Preheat oven to 450°F.
- In a medium bowl, whisk together flour, baking powder, sugar, and salt.
- Add buttermilk and mix until a soft, moist dough forms.
- Pour melted butter into an 8x8 or 9x9 baking dish. Place dough on top and spread evenly to the edges.
- Cut unbaked dough into 9 squares while it sits in the butter.
- Bake for 20–25 minutes or until golden brown on top.
- Serve warm and enjoy with jam, honey, or your favorite meal pairing.
Notes