Chocolate Chip Pan Chewies
Chocolate Chip Pan Chewies: The Easiest Way to Get That Bakery-Style Chew at Home
Why Chocolate Chip Pan Chewies are a go-to treat
You know those days when you want homemade cookies… but not that much effort?
No scooping. No multiple batches. No waiting around while trays rotate in and out of the oven.
That’s where Chocolate Chip Pan Chewies come in.
They’re everything you love about chocolate chip cookies—soft centers, rich flavor, melty chocolate—but baked in one pan like a dream bar dessert. It’s faster, easier, and honestly a little more forgiving.
And if you’re a mom juggling a dozen things at once, this kind of recipe feels like a small victory. Stir, pour, bake. Done.
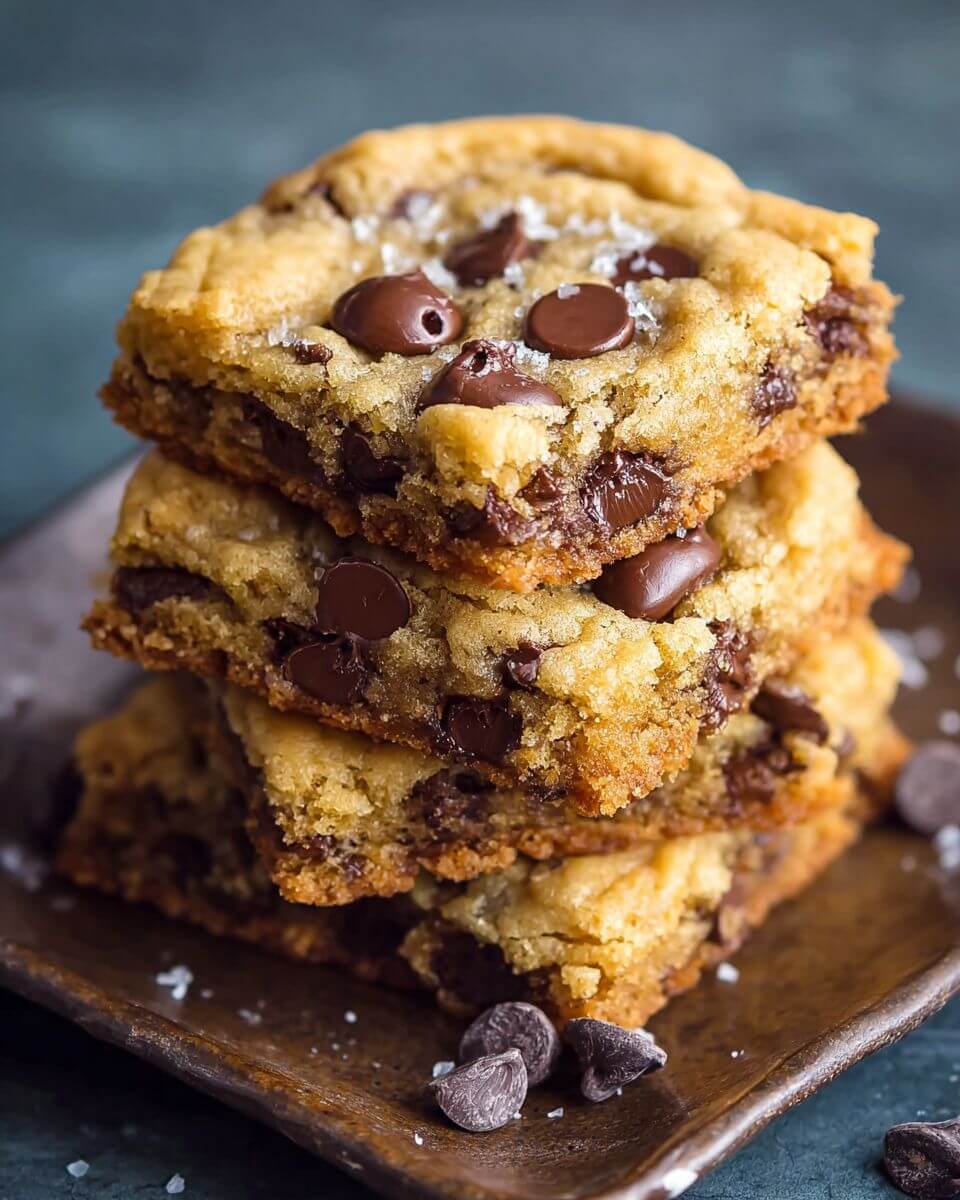
What makes them perfectly chewy (not cakey, not crunchy)
Let’s talk texture—because this is where these bars shine.
The goal is that soft, slightly dense, chewy center with just a hint of crispness around the edges. Not fluffy like cake. Not crisp like a thin cookie.
The secret?
- Melted butter instead of softened
- Brown sugar instead of white
- Minimal mixing once the flour goes in
That combination gives you moisture, richness, and that signature chew.
It’s the kind of bite that makes you pause for a second… and then immediately go back for another square.
Ingredient notes + easy upgrades
This recipe uses basic pantry staples, which is part of its charm.
The essentials:
- Butter (melted): Creates that dense, chewy texture
- Brown sugar: Adds moisture and a subtle caramel flavor
- Egg: Binds everything together
- Vanilla extract: Warm, classic flavor
- Flour + leavening: Just enough structure
- Chocolate chips: The star of the show
A few helpful notes:
- Light or dark brown sugar both work—dark gives a deeper flavor
- Don’t skip the salt—it balances the sweetness
Easy upgrades:
- Add chopped walnuts or pecans for crunch
- Mix in white chocolate chips for contrast
- Sprinkle a little flaky sea salt on top before baking
Nothing complicated—just ways to make it your own.
Step-by-step (with timing that actually works)
This is one of those recipes you can make start-to-finish without feeling rushed.
1. Prep your pan
Preheat oven to 350°F and grease a 9×9-inch pan.
You can also line it with parchment if you want easy removal—but honestly, greasing works just fine.
2. Mix the wet ingredients
In a bowl, combine melted butter, brown sugar, egg, and vanilla.
Stir until smooth and glossy.
👉 It should look thick but pourable—almost like caramel.
3. Add the dry ingredients
Mix in flour, baking powder, salt, and baking soda.
Stir just until combined.
This is important: don’t overmix. Overmixing = tougher texture.
4. Fold in the chocolate chips
Gently stir them in until evenly distributed.
At this point, the batter will be thick—and that’s exactly what you want.
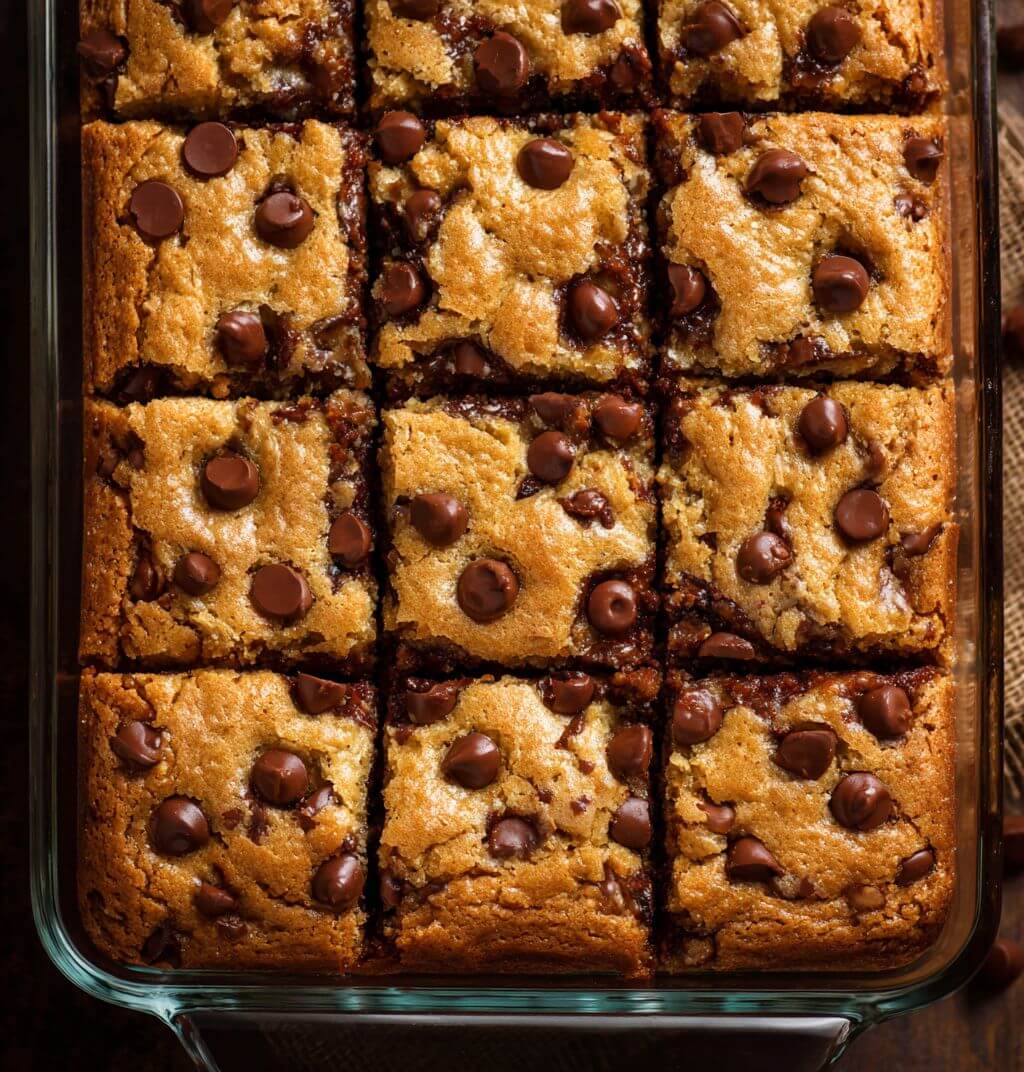
5. Bake
Spread the batter evenly in your pan.
Bake for 20–25 minutes until the top is golden brown and a toothpick comes out mostly clean.
Not perfectly clean—slightly soft in the center is ideal.
6. Cool (a little!)
Let it cool for a bit before slicing.
Warm bars are amazing—but cutting too early can make them fall apart.
Texture tips (that soft, chewy center everyone wants)
If you want that perfect chewy bite every time, keep these in mind:
- Slightly underbake rather than overbake
The bars will continue setting as they cool. - Use melted butter—not softened
This is key for chewiness. - Measure flour carefully
Too much flour = dry bars. - Let them rest before cutting
It helps them hold together and keeps the texture just right.
Think of it like brownies—you’re aiming for that soft middle.
Make-ahead + storage
These bars are just as good later, which makes them perfect for busy weeks.
Storage:
- Keep in an airtight container at room temperature for 3–4 days
- Refrigerate if you want them to last longer
Reheating:
- Microwave for 10–15 seconds for that fresh-from-the-oven feel
They also freeze well—just wrap individual squares and pull them out when needed.
Serving ideas (leftovers—if there are any!)
Let’s be honest—these don’t usually last long.
But if they do…
Serve them:
- Warm with a glass of milk (classic)
- With a scoop of vanilla ice cream for dessert
- Packed into lunchboxes as a sweet surprise
Turn them into something extra:
- Crumble over ice cream
- Make cookie bar sandwiches with frosting
- Drizzle with chocolate or caramel
Or just grab one straight from the pan while standing in the kitchen. That counts too.
Conclusion
Chocolate Chip Pan Chewies are proof that simple recipes can still feel special.
They’re quick, comforting, and just a little indulgent—the kind of treat that fits into real life without adding stress. No complicated steps, no fancy ingredients, just a reliable, delicious result every time.
And maybe that’s why they stick around. Not because they’re flashy—but because they’re easy, dependable, and genuinely good.
The kind of recipe you’ll make once… and then keep coming back to.
Chocolate Chip Pan Chewies
Ingredients
Method
- Preheat oven to 350°F (175°C) and grease a 9x9-inch baking pan.
- Mix melted butter, brown sugar, vanilla extract, and egg until smooth.
- Add flour, baking powder, salt, and baking soda and stir until just combined.
- Fold in chocolate chips evenly.
- Spread batter into pan and bake for 20-25 minutes until golden and set.
- Cool slightly, slice, and serve.
Notes