Fudgy Brownie Cookies Recipe
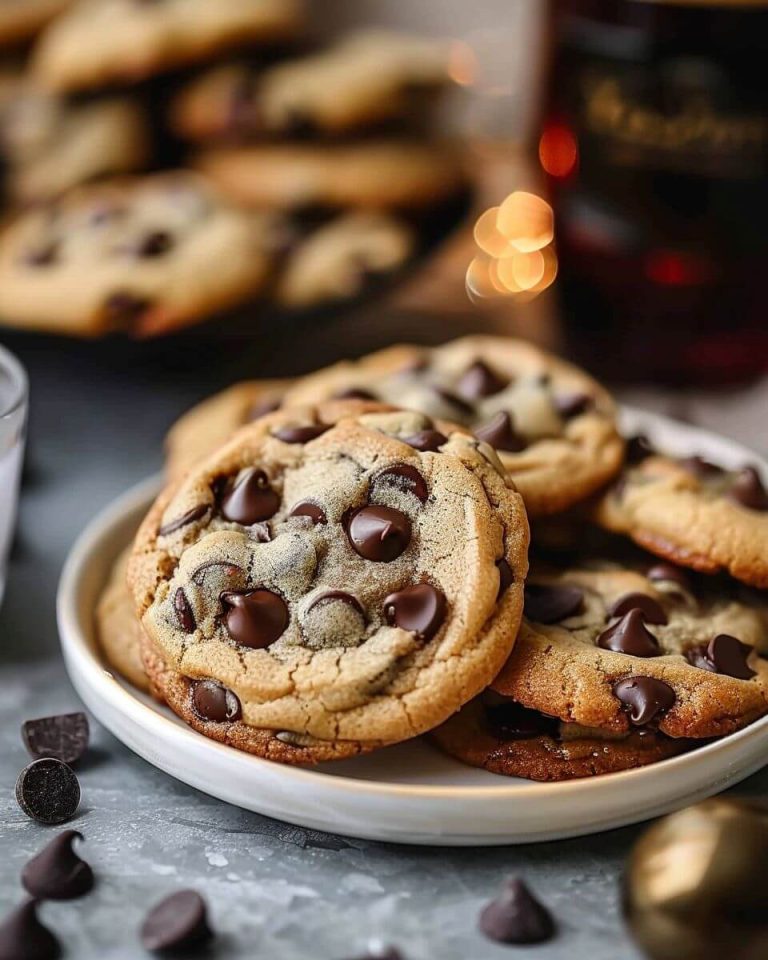
Fudgy Brownie Cookies (Crispy Edges, Gooey Centers, and Pure Chocolate Comfort)
There are chocolate chip cookies… and then there are cookies that feel like full-on dessert.
These Fudgy Brownie Cookies fall squarely into that second category.
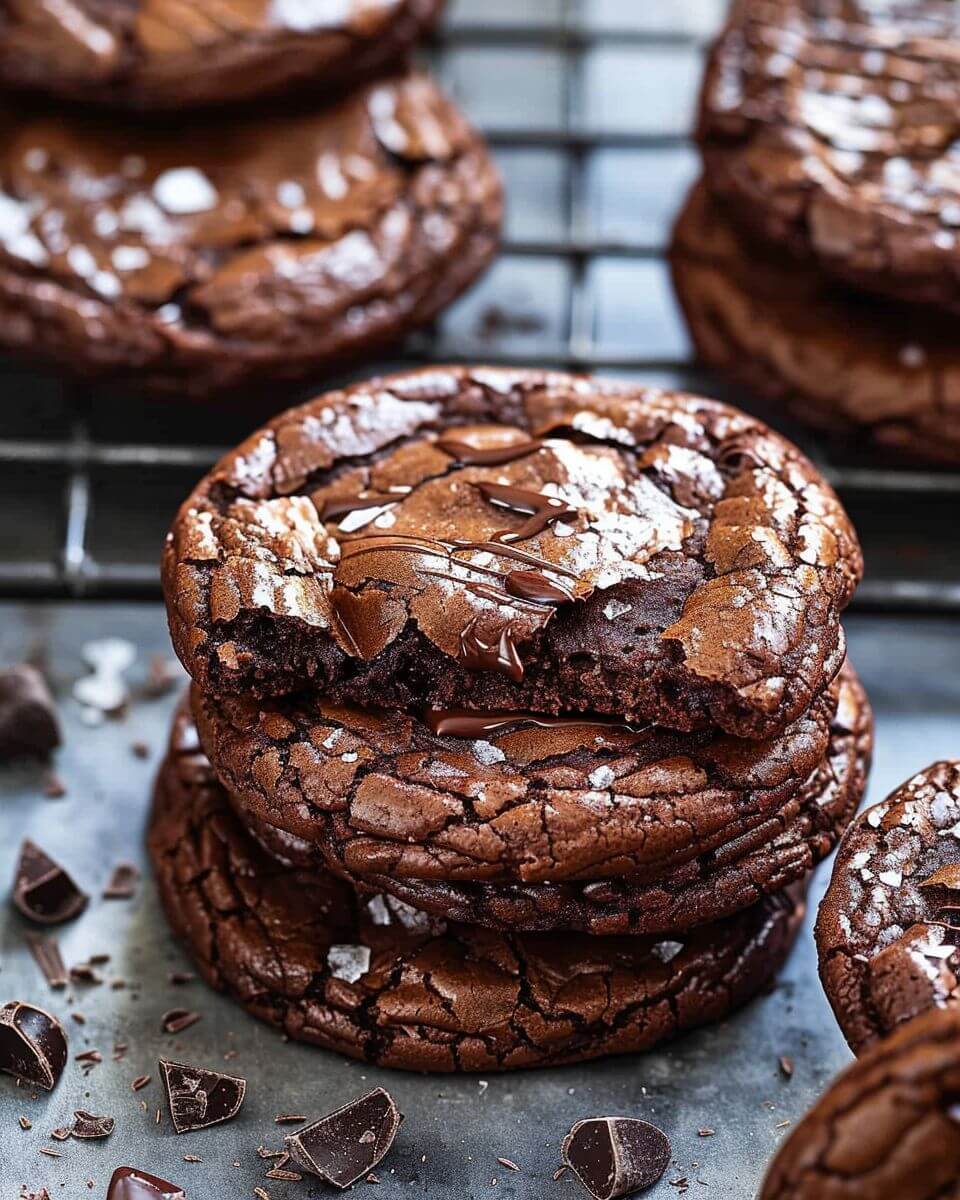
They’ve got that shiny, crackly top you usually only see on a really good brownie. The edges are just slightly crisp, the centers stay soft and rich, and the whole thing melts a little when it’s still warm—honestly, it’s the kind of cookie that makes you pause after the first bite.
And here’s the thing: they’re not complicated, but they do require a little attention to detail. Not in a stressful way—just in that “timing matters” kind of way that makes the difference between good and wow, these are incredible.
Why These Cookies Work (It’s All About Texture)
If you’ve ever wondered why some brownie cookies turn out cakey instead of fudgy, it usually comes down to balance.
These get it right because:
- They use melted chocolate (not just cocoa powder)
- The sugar dissolves properly for that glossy top
- The batter sits just long enough to thicken
- They’re baked just until set—not overdone
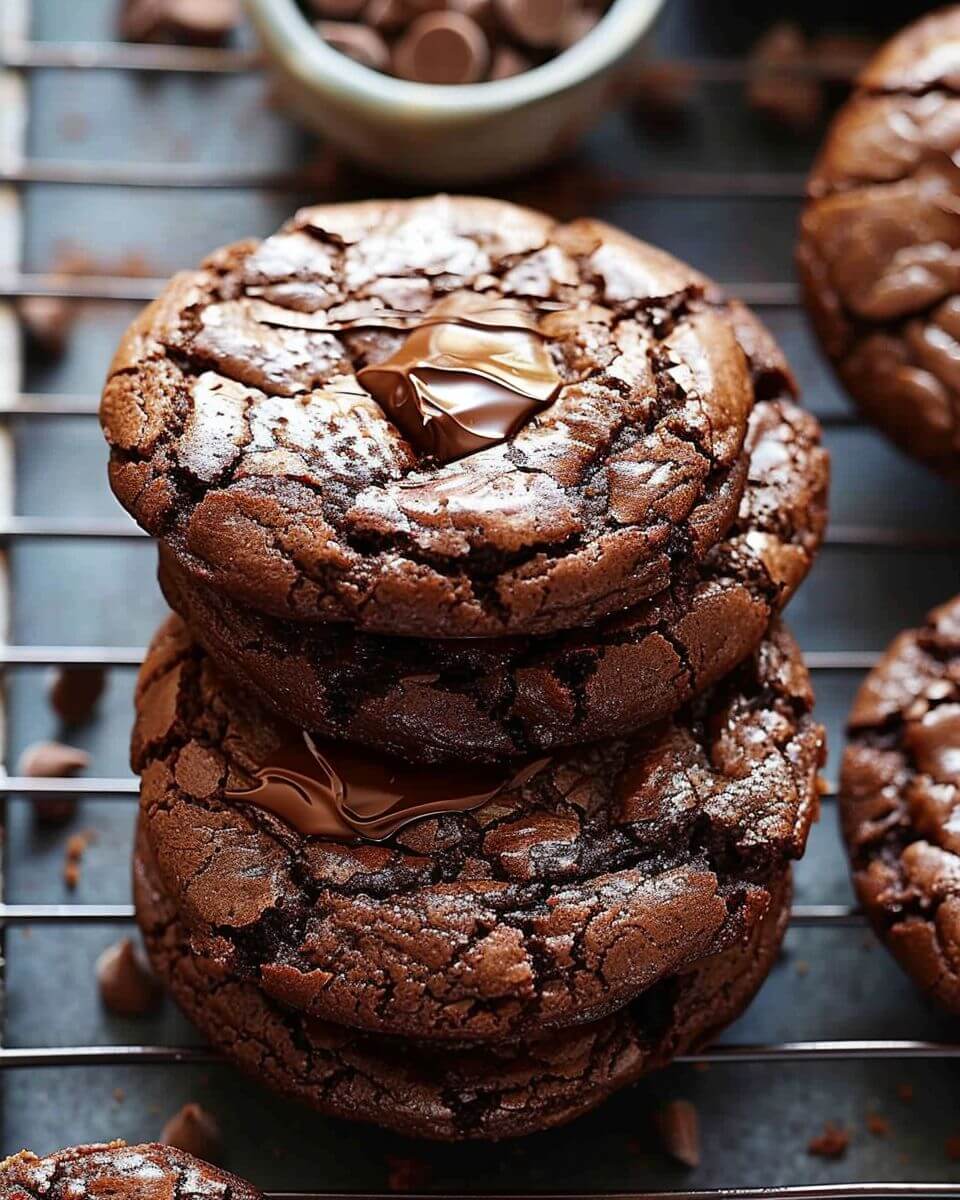
What you end up with is that signature combination:
- Slightly crisp shell
- Soft, dense interior
- Deep chocolate flavor that feels rich but not overwhelming
Ingredients (Simple, but Quality Matters)
- 1 cup semi-sweet chocolate chips
- 2 tablespoons butter
- 2 large eggs
- ¾ cup granulated sugar
- 1 teaspoon vanilla extract
- ½ cup all-purpose flour
- 2 tablespoons cocoa powder
- ½ teaspoon baking powder
- ¼ teaspoon salt
Optional:
- Extra chocolate chips or chunks
- A sprinkle of flaky sea salt
A few helpful notes before you start:
Use good chocolate
This is the main flavor, so it really makes a difference.
Room temperature eggs help
They mix more smoothly and help create that glossy texture.
Don’t skip the cocoa powder
It deepens the chocolate flavor and balances the sweetness.
Step-by-Step (Follow the Flow—It’s Worth It)
Start by melting your chocolate and butter together.
You can do this in a microwave (short bursts, stirring in between) or over a double boiler.
Stir until smooth and set aside to cool slightly.
Whip the Eggs and Sugar (This Is the Secret Step)
In a separate bowl, beat the eggs and sugar together for about 3–4 minutes.
This step matters more than it seems.
You’re looking for the mixture to become:
- Pale
- Thick
- Slightly glossy
This is what helps create that signature crackly top.
Add the vanilla and mix briefly.
Combine (Gently, Don’t Rush It)
Slowly pour the melted chocolate into the egg mixture.
Stir gently until combined.
Now add:
- Flour
- Cocoa powder
- Baking powder
- Salt
Mix until just combined.
The batter will be thick and slightly glossy.
Let It Rest (A Small Step That Makes a Big Difference)
Let the batter sit for about 10–15 minutes.
This helps it firm up slightly so the cookies hold their shape when baked.
If you skip this step, they may spread too much.
Scoop and Bake
Preheat your oven to 350°F and line a baking sheet with parchment.
Scoop small portions of batter onto the sheet, leaving space between each.
They will spread slightly.
Bake for 8–10 minutes.
Watch Closely (This Is Where It Matters Most)
The cookies are done when:
- The tops look crackly
- The edges are set
- The centers still look slightly soft
Don’t overbake.
They continue to set as they cool.
Texture Tips (Customize Your Perfect Cookie)
If you like them extra fudgy:
- Bake on the shorter end of the time range
If you prefer them slightly firmer:
- Add 1–2 extra minutes
But be careful—just a minute too long can take them from gooey to cakey.
Make-Ahead & Storage (If You Somehow Have Leftovers)
These cookies keep well for a few days in an airtight container.
You can also:
- Chill the dough before baking
- Freeze baked cookies for later
A quick warm-up in the microwave brings back that soft center.
Serving Ideas (Keep It Simple or Go All In)
These cookies are great on their own—but you can also:
- Serve with a glass of milk
- Add a scoop of vanilla ice cream
- Sprinkle with flaky salt for contrast
- Stack them on a dessert tray for gatherings
Or just eat one warm from the pan—no extras needed.
A Small Real-Life Note
Some cookies will spread more than others.
Some will have deeper cracks.
One might bake a little darker than the rest.
That’s completely normal.
And honestly? Those slightly uneven ones often taste the best.
Why These Cookies Feel Special
They’re not everyday cookies.
They’re the kind you make when you want something a little richer, a little more indulgent—something that feels like a treat without needing a full dessert spread.
Conclusion
These Fudgy Brownie Cookies deliver the rich flavor and soft texture of a classic brownie in a convenient, handheld form. With a straightforward process and a few key techniques, they consistently produce a satisfying balance of crisp edges and gooey centers.
Whether you’re baking for a gathering or simply want a reliable chocolate treat, they offer a dependable and rewarding option.
And once you’ve made them this way, regular cookies might start to feel just a little less exciting.
Fudgy Brownie Cookies
Ingredients
Method
- Melt chocolate chips and butter until smooth, then cool slightly.
- Whisk eggs, sugars, and vanilla until combined.
- Stir in melted chocolate mixture.
- Mix in flour, cocoa, baking soda, and salt until just combined.
- Fold in chocolate chips and pecans if using.
- Chill dough for 30 minutes.
- Preheat oven to 350°F and scoop dough onto baking sheets.
- Bake for 8–10 minutes until tops crack and centers remain soft.
- Cool slightly before transferring to a rack.
Notes