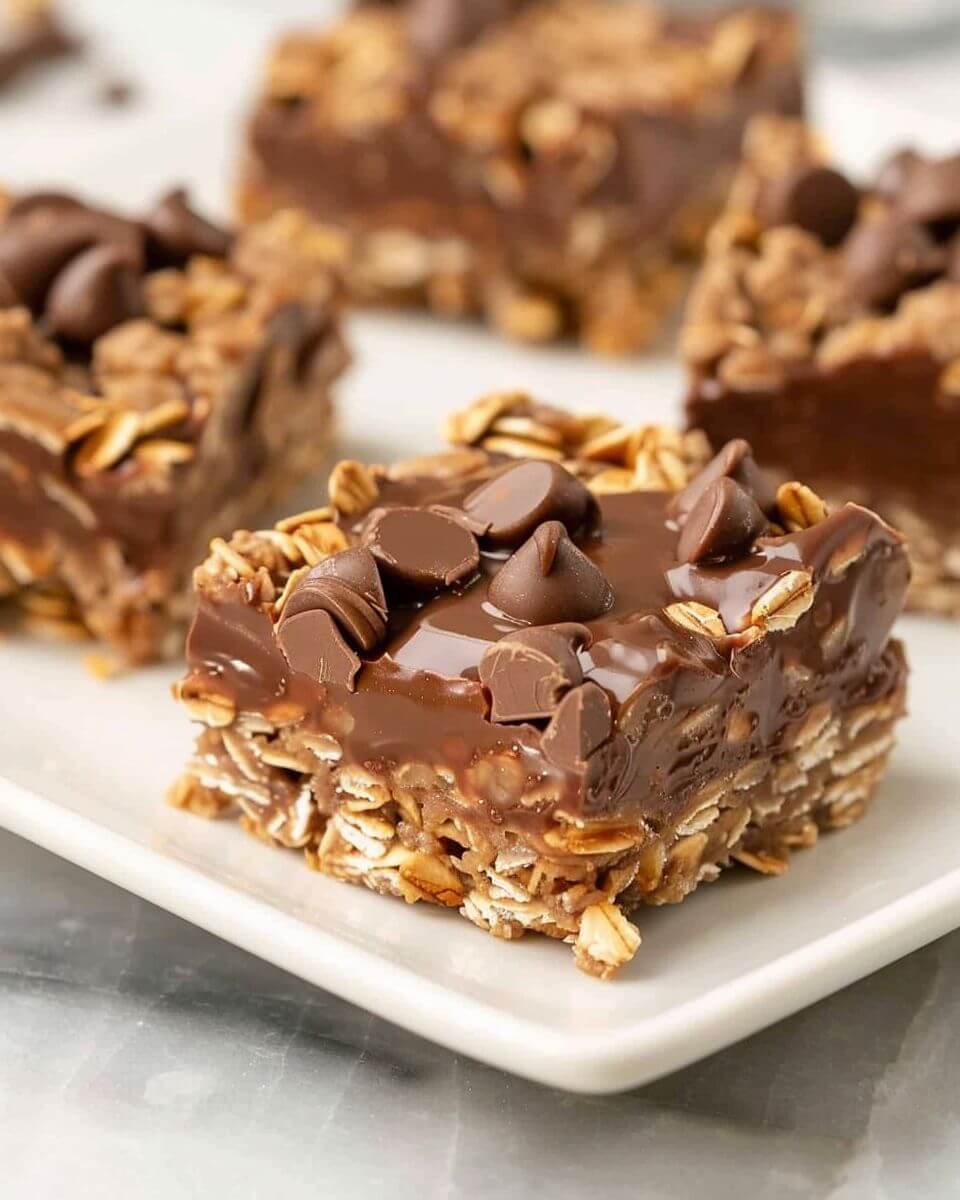
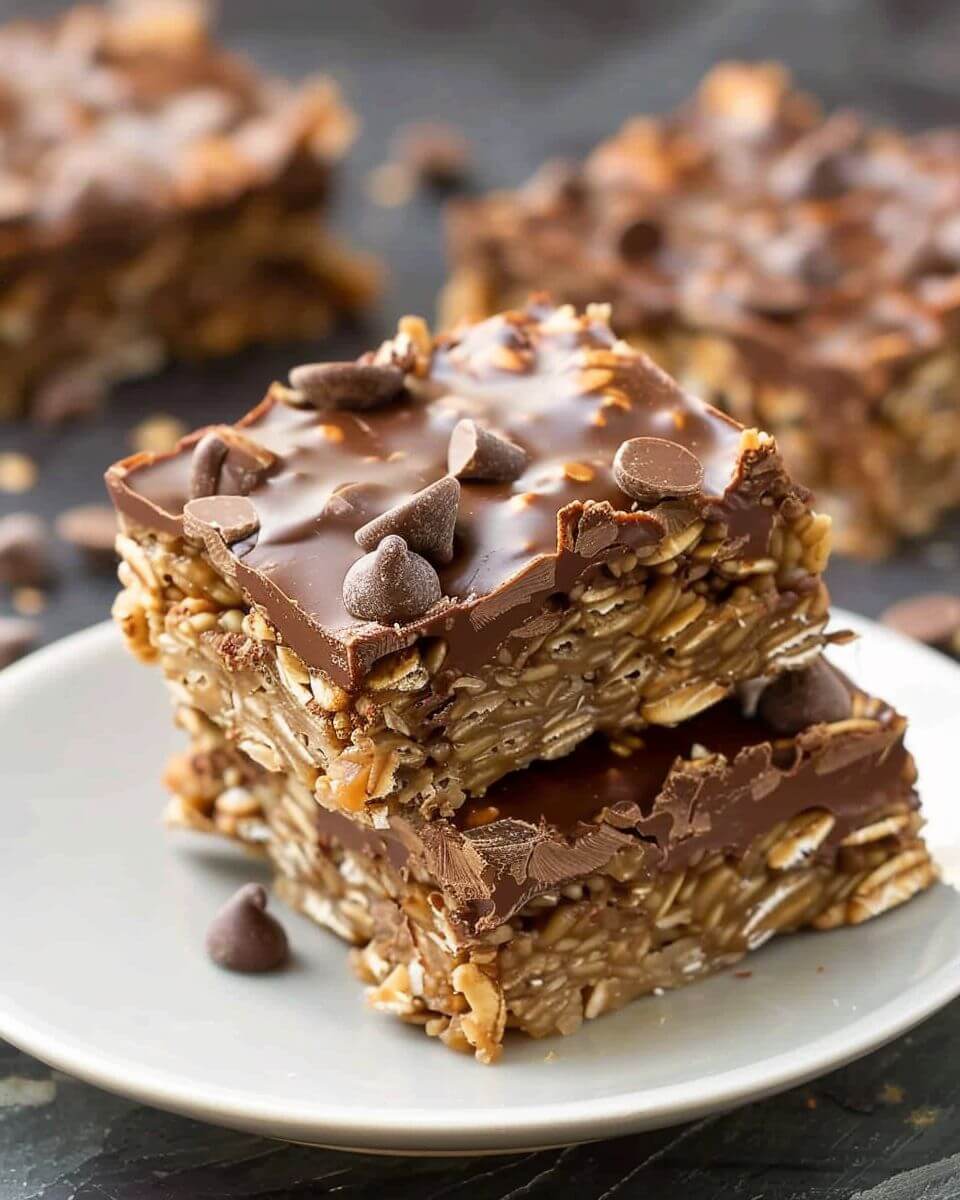
No Bake Chocolate Oat Bars
No-Bake Chocolate Oat Bars (The Kind You “Hide” for Later… and Still Eat First)
You ever make something just to have a quick snack on hand… and then somehow it’s gone by the next day? Not even a full 24 hours—just gone. That’s exactly what happens with these no-bake chocolate oat bars.
They’re chewy, a little chocolatey, a little nutty, and honestly? Way too easy to grab “just one more” while you’re passing through the kitchen.
And here’s the thing—you don’t need an oven. Which, if you’ve ever tried baking while also managing kids, laundry, and that one mystery mess in the living room… yeah, no-bake recipes feel like a small win.
Why This “Recipe” Always Disappears First
Let me paint the picture. You make a batch thinking, great, snacks for the week. Maybe even a healthier-ish option compared to store-bought treats.
Then:
- One gets sampled “just to taste”
- A couple go into lunchboxes
- Someone grabs one after school
- You sneak one with coffee (no judgment)
Next thing you know? Empty container.
It’s the combo that does it—rich chocolate + hearty oats + that soft, slightly sticky texture. It hits that sweet spot where it feels indulgent but still grounded enough to not feel like dessert overload.
Also… no baking means you can make them anytime. Late night? Sure. Busy morning? Why not.
Ingredients (With a Few Easy Swaps)
You probably already have most of this in your pantry. That’s part of the magic.
Base Ingredients:
- 2 cups rolled oats
- 1 cup peanut butter
- ½ cup honey (or maple syrup)
- ½ cup butter
- 1 cup chocolate chips
- 1 teaspoon vanilla extract
- Pinch of salt
Easy Swaps (because life happens):
- Peanut butter → almond butter or sunflower seed butter (great for allergies)
- Honey → maple syrup for a vegan option
- Butter → coconut oil if you prefer dairy-free
- Chocolate chips → dark chocolate chunks or mini chips (mini chips spread better, just saying)
You don’t have to follow this perfectly. Honestly, this recipe is forgiving—like sweatpants after dinner.
Step-by-Step Instructions (Simple and Doable)
Alright, let’s keep this as stress-free as possible.
- Melt the base ingredients
In a saucepan over low heat, combine peanut butter, honey, and butter. Stir until everything is smooth and melted together. - Add vanilla and salt
Turn off the heat and stir in vanilla and a pinch of salt. It smells amazing already—fair warning. - Mix in the oats
Pour in the oats and stir until everything is well coated. It’ll look thick. That’s exactly what you want. - Press half into a pan
Line an 8×8 pan with parchment paper. Press half the oat mixture firmly into the bottom. - Melt the chocolate
Microwave or gently melt the chocolate chips until smooth. - Spread the chocolate layer
Pour melted chocolate over the oat layer and spread evenly. - Top with remaining oats
Crumble and gently press the rest of the oat mixture on top. - Chill
Refrigerate for at least 2 hours (or until firm). - Slice and serve
Cut into bars or squares. Try not to eat three immediately… or do. I’m not here to police that.
Tips That Actually Help
Some recipes throw tips at you like you’ve got all day. These are the ones that actually matter:
- Press firmly
Use the back of a spoon or even a flat glass. Loose layers = crumbly bars. - Line your pan
Parchment paper makes lifting and slicing way easier. - Don’t rush the chill time
I know, waiting is annoying. But it helps everything set properly. - Use fresh oats
Sounds minor, but stale oats? They change the texture. - Add a tiny sprinkle of salt on top
That sweet-salty combo? Worth it.
Variations (Because Everyone Likes Something Different)
Once you make these once, you’ll start tweaking them without thinking. It’s kind of inevitable.
1. Chocolate Lover’s Version
Add mini chocolate chips into the oat mixture and keep the chocolate layer. Yes, it’s extra. Yes, it’s good.
2. Protein Boost
Stir in a scoop of protein powder. You might need a splash of milk to balance the texture.
3. Coconut Crunch
Add shredded coconut for a little texture and flavor twist.
4. Nut-Free School Version
Use sunflower seed butter and skip any nut add-ins.
5. Dessert Style
Drizzle melted white chocolate on top. Suddenly it looks fancy—like you planned it that way.
Make-Ahead + Storage
Let’s be honest—these are meant to be made ahead. That’s part of the appeal.
Make-Ahead:
- Prep the night before and let them chill overnight
- Cut and portion for grab-and-go snacks
Storage:
- Fridge: Up to 1 week (covered)
- Freezer: Up to 2–3 months
Quick note:
They’re firmer straight from the fridge, softer at room temp. Some people have strong preferences about this—apparently it’s a whole thing.
What to Serve With Them
Okay, technically these are a snack. But they fit into your day in a bunch of ways.
Perfect Pairings:
- Morning coffee (honestly, underrated breakfast)
- After-school snack with a glass of milk
- Packed in lunchboxes
- Post-practice energy boost
- Late-night “I need something sweet but not too much” moment
And if you’re feeling a little extra? Crumble one over yogurt. It’s like granola’s cooler cousin.
Conclusion
Here’s the thing—these no-bake chocolate oat bars aren’t trying to be fancy. They’re not complicated. They don’t require perfect timing or special tools.
They just work.
They’re the kind of recipe you come back to again and again because it fits into real life—the busy, messy, sometimes chaotic kind. And somehow, despite how simple they are, people genuinely love them.
And maybe that’s the whole point.
Simple food. Shared often. Gone quickly.
No Bake Chocolate Oat Bars
Ingredients
Method
- Grease a 9x9-inch square pan and set aside.
- In a large saucepan over medium heat, melt butter. Stir in brown sugar and vanilla extract.
- Mix in oats and cook over low heat for 2–3 minutes until well combined.
- Press half of the oat mixture firmly into the bottom of the prepared pan. Reserve remaining half for topping.
- In a small saucepan, melt chocolate chips and peanut butter over low heat, stirring until smooth.
- Pour chocolate mixture over the oat crust and spread evenly.
- Crumble remaining oat mixture over the top and gently press down.
- Cover and refrigerate for 2–3 hours or until firm. Bring to room temperature before cutting into bars.
Notes