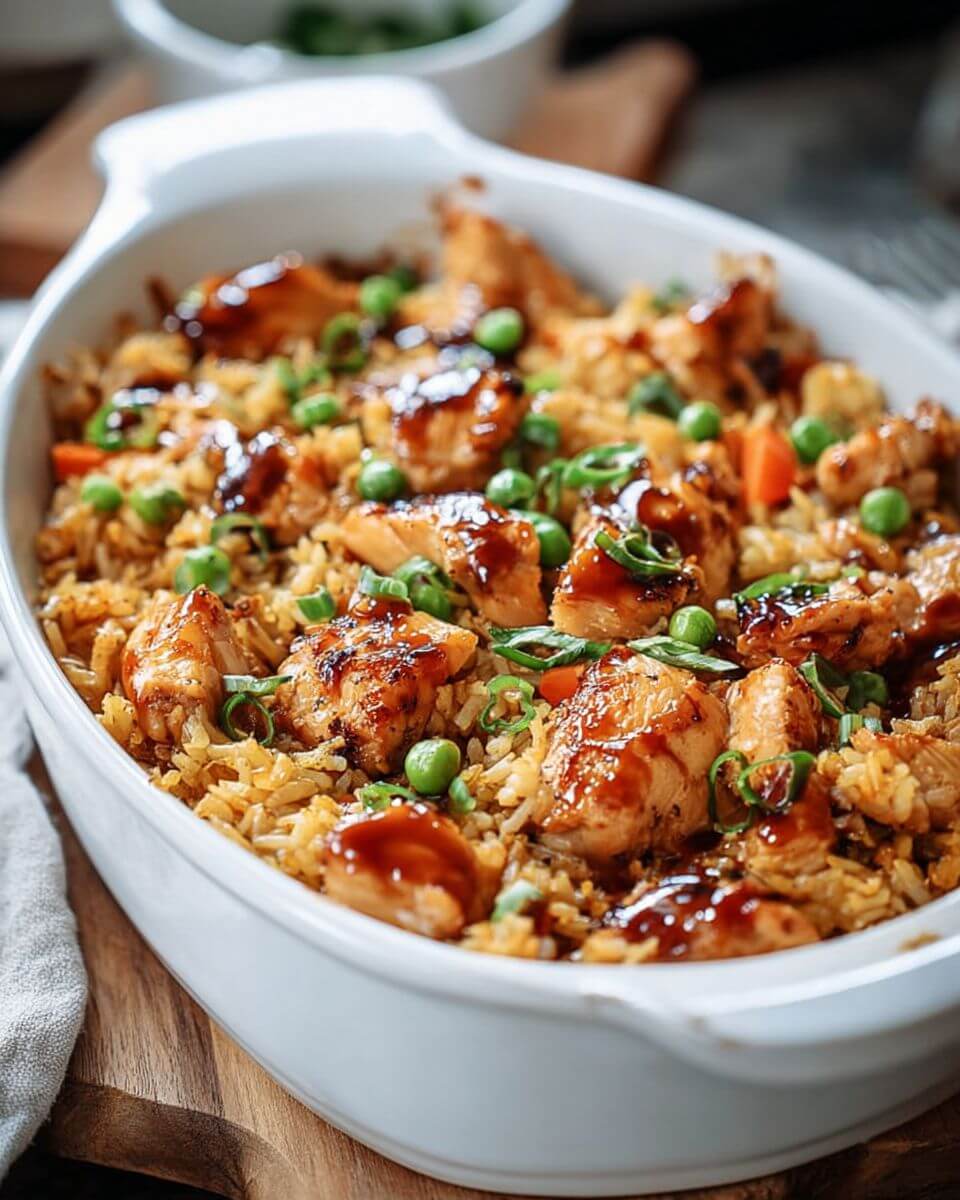
TERIYAKI CHICKEN CASSEROLE
Teriyaki Chicken Casserole: The Cozy, Better-Than-Takeout Dinner Moms Swear By
Why Teriyaki Chicken Casserole is a family favorite
You know those dinners that just… work? No complaints, no picking around the plate, no “what else do we have?” five minutes later?
This is one of those.
Teriyaki Chicken Casserole hits that sweet spot between comfort food and something that feels a little fresher than the usual weeknight rotation. It’s warm, filling, and packed with flavor—but it’s also practical. One dish, simple ingredients, and enough to feed everyone (plus leftovers, if you’re lucky).
And honestly, it’s a quiet hero for busy moms. You can prep parts ahead, it reheats beautifully, and it sneaks in vegetables without turning dinner into a negotiation.
What makes a great teriyaki flavor (sweet, savory, balanced)
Let me explain something—good teriyaki sauce isn’t just sweet. It’s about balance.
You’ve got:
- Soy sauce for saltiness and depth
- Brown sugar + honey for sweetness
- Ginger and garlic for warmth and aroma
- A little oil to round it all out
When it’s done right, the sauce is glossy, slightly sticky, and coats everything just enough without drowning it.
And here’s the thing—homemade teriyaki like this? It tastes cleaner than takeout. Not in a boring way, just… less heavy, more real.
Ingredient notes + easy upgrades
This recipe is built for convenience, but there’s still room to make it your own.
The essentials:
- Chicken breasts: Lean, easy to shred, and soak up flavor well
- Frozen mixed vegetables: Total time-saver—no chopping needed
- Pineapple: Adds sweetness and that classic teriyaki contrast
- Brown rice: Keeps it hearty and a bit more nutritious
A few helpful notes:
- Look for unsauced frozen veggies so you control the flavor
- Pineapple packed in juice (not syrup) keeps things from getting overly sweet
- Brown rice adds texture, but white rice works if that’s what you have
Easy upgrades:
- Add sesame seeds or green onions on top
- Toss in a handful of cashews for crunch
- Use chicken thighs if you want extra tenderness
Nothing fancy—just little tweaks depending on your pantry.
Step-by-step (with timing that works for real life)
This recipe flows nicely if you multitask just a bit—but nothing stressful.
1. Start with the sauce
Combine soy sauce, water, brown sugar, honey, ginger, olive oil, and garlic in a saucepan.
Bring it to a boil, then let it cook briefly.
Meanwhile, mix cornstarch and water to create a slurry. Add it in once the sauce is boiling.
👉 Within a minute, it thickens into that glossy teriyaki texture.
Set it aside.
2. Bake the chicken
Place raw chicken breasts in a 9×13 dish and pour about a cup of sauce over them.
Bake at 350°F for 30–35 minutes.
When done, shred the chicken right in the dish using two forks.
No extra cutting board. No extra mess. That’s a win.
3. Cook the vegetables
While the chicken bakes, prepare your frozen vegetables according to the package.
This is your “catch your breath” moment—maybe tidy up, maybe scroll your phone for a second.
4. Bring it all together
Add the cooked vegetables, pineapple, and rice directly into the casserole dish with the shredded chicken.
Pour in most of the remaining sauce and stir everything together.
It might look like a lot—but once mixed, it comes together beautifully.
5. Final bake
Return the dish to the oven for about 15 minutes.
This helps everything soak up the sauce and blend flavors.
Drizzle the remaining sauce on top before serving.
Sauce tips (that glossy, takeout-style finish)
If you’ve ever wondered why some homemade teriyaki tastes flat, it usually comes down to the sauce.
A few tips to get it just right:
- Don’t skip the slurry
That cornstarch mixture is what thickens the sauce and gives it that signature shine. - Let it boil briefly
This activates the thickening and deepens the flavor. - Taste before adding everything
Want it sweeter? Add a touch more honey. More savory? A splash of soy sauce.
Cooking isn’t rigid—it’s flexible.
Make-ahead + storage
This casserole is a lifesaver when you need to plan ahead.
Make-ahead options:
- Cook the rice and sauce earlier in the day
- Bake and shred the chicken ahead of time
- Assemble everything later and do the final bake when ready
Storage:
- Keeps in the fridge for up to 4 days
- Reheats well in the microwave or oven
You might even notice it tastes better the next day. The flavors settle in and deepen a bit.
Serving ideas (leftovers that actually get eaten)
Some leftovers sit untouched. This isn’t one of them.
Serve it with:
- A sprinkle of sesame seeds
- Chopped green onions
- A side of simple cucumber salad
Turn leftovers into:
- Teriyaki wraps (just roll it in a tortilla)
- Rice bowls with extra veggies
- Quick stir-fry by reheating in a skillet
Or—let’s be honest—eat it straight from the fridge between errands. It happens.
Conclusion
Teriyaki Chicken Casserole is one of those dependable, no-fuss meals that still feels satisfying and a little special.
It’s warm, flavorful, and flexible enough to fit into real life—busy schedules, picky eaters, and all.
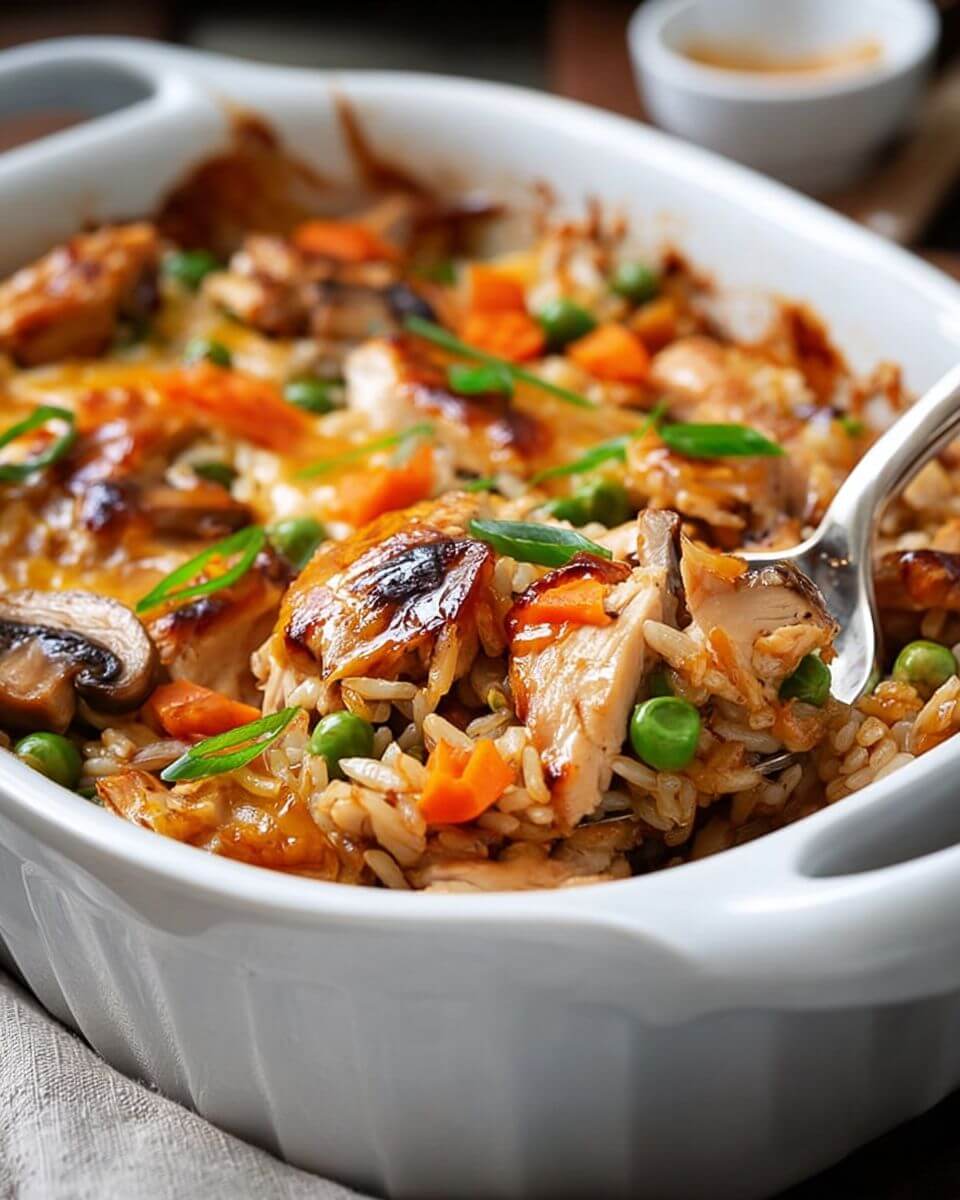
You get that sweet-savory balance, tender chicken, hearty rice, and colorful veggies in one dish. No juggling multiple pans, no complicated steps.
And maybe that’s why it sticks around. Not because it’s fancy—but because it works.
Every time.
Teriyaki Chicken Casserole
Ingredients
Method
- Preheat oven to 350°F (175°C).
- Combine soy sauce, water, brown sugar, honey, ginger, olive oil, and garlic in a saucepan. Bring to a boil, then uncover and cook for 1 minute.
- Mix corn starch with 2 tablespoons water to form a slurry. Stir into the boiling sauce and cook until thickened, then remove from heat.
- Place chicken in a 9x13-inch dish, pour 1 cup sauce over it, and bake for 30-35 minutes until cooked through. Shred chicken in the dish.
- Cook vegetables according to package directions.
- Add vegetables, pineapple, and rice to the chicken. Pour in most of the remaining sauce and stir to combine.
- Bake for an additional 15 minutes. Drizzle with remaining sauce and serve.
Notes