Sweet Potato Pie
Sweet Potato Pie (The Cozy Dessert That Always Shows Up)
There’s something about sweet potato pie that just feels… grounding. Maybe it’s the warm spices, or that silky texture, or the way it makes your kitchen smell like you’ve been baking all day—even if you started an hour ago.
And you don’t have to wait for Thanksgiving. Honestly, that’s a myth. This pie works just as well on a quiet Sunday, a school potluck, or one of those nights when you want something sweet but not over-the-top sugary.
Here’s the thing: once you make it from scratch, even once, it kind of sticks with you. It becomes your recipe—even if you tweak it a little each time.
Let’s walk through it together.
Ingredients (Simple, Flexible, Real-Life Friendly)
For the filling:
- 2 cups mashed sweet potatoes (about 2–3 medium potatoes)
- ¾ cup granulated sugar
- ½ cup brown sugar
- ½ cup melted butter
- ½ cup evaporated milk (or regular milk)
- 2 large eggs
- 1 tsp vanilla extract
- 1 tsp ground cinnamon
- ½ tsp nutmeg
- ¼ tsp ginger (optional but lovely)
- Pinch of salt
For the crust:
- 1 unbaked 9-inch pie crust (store-bought or homemade)
A quick note (because we’ve all been there):
If you’re staring at your pantry thinking, “I don’t have evaporated milk…” — don’t panic. Regular milk, half-and-half, or even a splash of cream works just fine. This pie is forgiving. Very forgiving.

Step-by-Step Instructions (No Guesswork, Just Flow)
1. Cook the sweet potatoes
Peel and chop your sweet potatoes, then boil them until fork-tender (about 15–20 minutes).
Drain and mash until smooth.
Take a second here—this is where the texture starts. The smoother, the better. No one wants surprise chunks in their pie.
2. Preheat and prep
Preheat your oven to 350°F.
Place your pie crust into a pie dish if it isn’t already. Crimp the edges if you’re feeling a little extra—or just leave it. It’ll still taste amazing.
3. Mix the filling
In a large bowl, combine:
- Mashed sweet potatoes
- Melted butter
- Sugar + brown sugar
Mix until smooth and slightly fluffy.
Then add:
- Eggs
- Milk
- Vanilla
- Cinnamon, nutmeg, ginger, salt
Whisk until everything is fully combined and silky.
At this point, it should smell like fall—even if it’s the middle of spring.
4. Pour and smooth
Pour the filling into your prepared crust.
Smooth the top gently. It doesn’t need to be perfect—just even enough so it bakes nicely.
5. Bake
Bake for 50–60 minutes, or until:
- The center is set but slightly jiggly
- A knife inserted near the center comes out mostly clean
If the crust edges start browning too quickly, loosely cover them with foil.
6. Cool (this part matters more than you think)
Let the pie cool at room temperature for at least 2 hours.
I know—it’s tempting to cut into it early. But giving it time helps the filling set properly. Otherwise, you’ll end up with more of a “sweet potato scoop” situation.
Still delicious… just not sliceable.
Tips That Actually Make a Difference
Let’s keep this real and useful:
- Roast instead of boil (if you have time): Roasting sweet potatoes deepens the flavor and makes the pie richer.
- Don’t overmix the eggs: Mix until combined—too much air can cause cracks.
- Use room temperature ingredients: It helps everything blend smoothly.
- Taste the filling before baking: Adjust spices or sweetness if needed.
Variations (Because Every Kitchen Has Its Own Style)
1. Classic Southern Style
Add a touch more butter and a little extra nutmeg. Rich, bold, and deeply comforting.
2. Lighter Version
- Reduce sugar slightly
- Use low-fat milk
- Skip part of the butter
Still creamy, just a bit less indulgent.
3. Kid-Friendly Twist
Tone down the spices and add a bit more vanilla. It leans sweeter and milder—usually a win.
4. Marshmallow Topping (a little fun)
In the last 10 minutes of baking, add mini marshmallows on top and let them toast.
It’s not traditional—but it’s a crowd-pleaser.
5. Dairy-Free Option
- Use plant-based butter
- Swap milk for almond or oat milk
Works beautifully with minimal flavor change.
Make-Ahead + Storage (Because Planning Helps)
Make-ahead:
Bake the pie a day in advance. Store in the fridge once cooled.
Storage:
- Refrigerate for up to 4 days
- Cover tightly to keep it fresh
Freezing:
Wrap well and freeze for up to 2 months. Thaw in the fridge overnight before serving.
What to Serve With It (Keep It Simple, Honestly)
This pie doesn’t need much—but a little something extra never hurts:
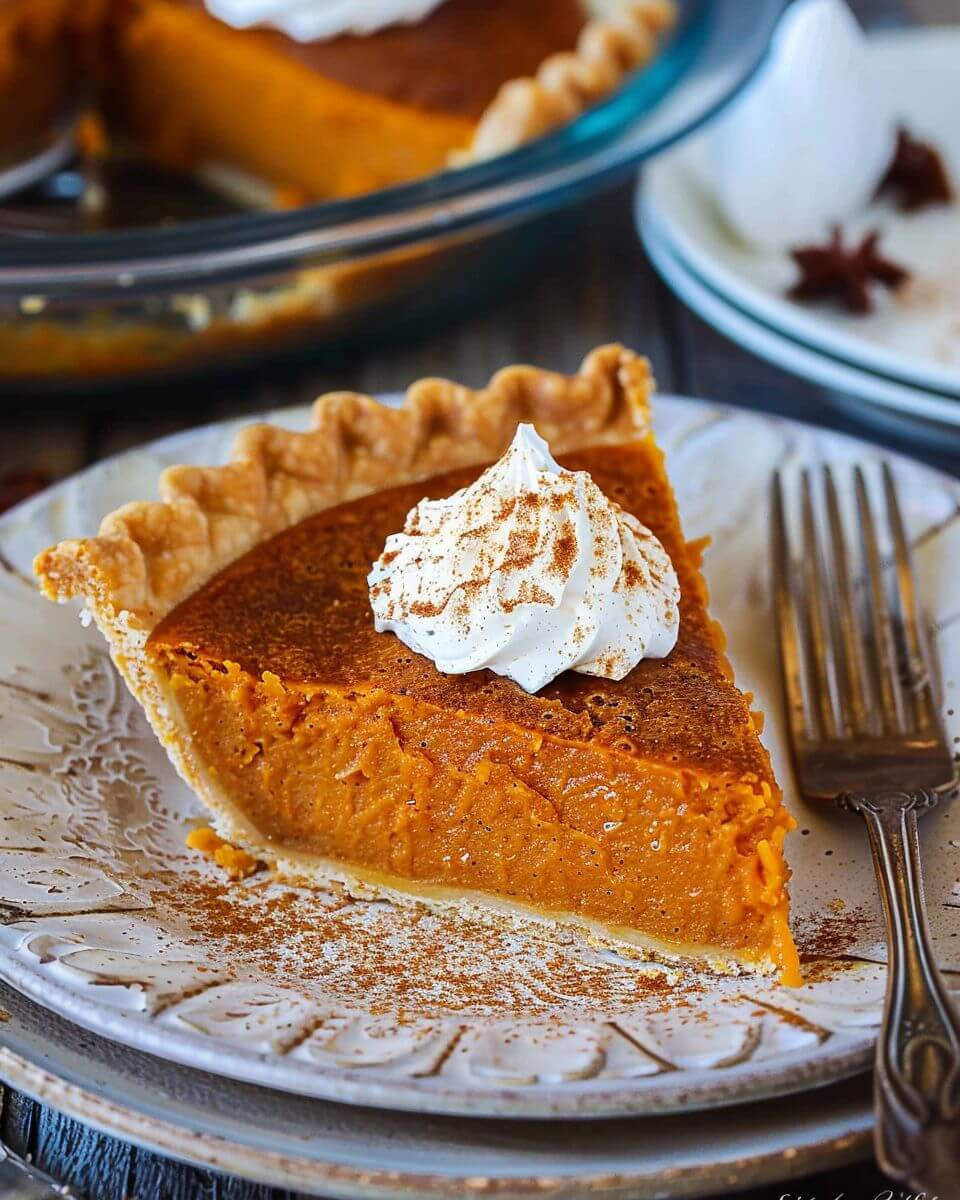
- Whipped cream (classic for a reason)
- Vanilla ice cream
- A sprinkle of cinnamon on top
Or just a quiet moment at the kitchen counter after everyone’s gone to bed. That counts too.
A Little Real-Life Note
You know what’s funny? Sweet potato pie isn’t flashy. It’s not trying to compete with elaborate desserts or layered cakes.
But it sticks around.
It’s the kind of recipe that gets passed down, scribbled on cards, adjusted over time. You make it once, then again, then suddenly it’s part of your rhythm.
And maybe that’s the point.
Conclusion
Sweet potato pie is more than just dessert—it’s comfort in a crust. It’s simple ingredients coming together in a way that feels warm, familiar, and just a little special.
Whether you’re making it for a holiday, a family dinner, or just because you had a couple of sweet potatoes sitting on the counter, it delivers every time.
And once you get the hang of it? You won’t need the recipe quite as much. You’ll just know.
Sweet Potato Pie
Ingredients
Method
- Boil whole sweet potato in its skin for 40–50 minutes until tender. Cool under cold water and remove skin.
- Place sweet potato in a bowl and mash. Add butter and mix until smooth.
- Stir in sugar, milk, eggs, nutmeg, cinnamon, and vanilla. Beat until smooth and well combined.
- Pour filling into unbaked pie crust and smooth the top.
- Bake at 350°F (175°C) for 55–60 minutes, until a knife inserted in the center comes out clean.
- Cool completely before slicing. Pie will puff slightly while baking and settle as it cools.
Notes