Peanut Butter Lunch Lady Bars
Peanut Butter Lunch Lady Bars (Soft, Sweet, and Full of Nostalgia)
There’s a certain kind of dessert that doesn’t try too hard—and somehow that’s exactly why it works.
If you grew up with school cafeteria treats, you probably know what I mean. Those simple sheet pan desserts? The ones cut into squares, slightly uneven, always a little soft in the center? They weren’t fancy, but they were good. Really good.
These Peanut Butter Lunch Lady Bars bring that exact feeling back.
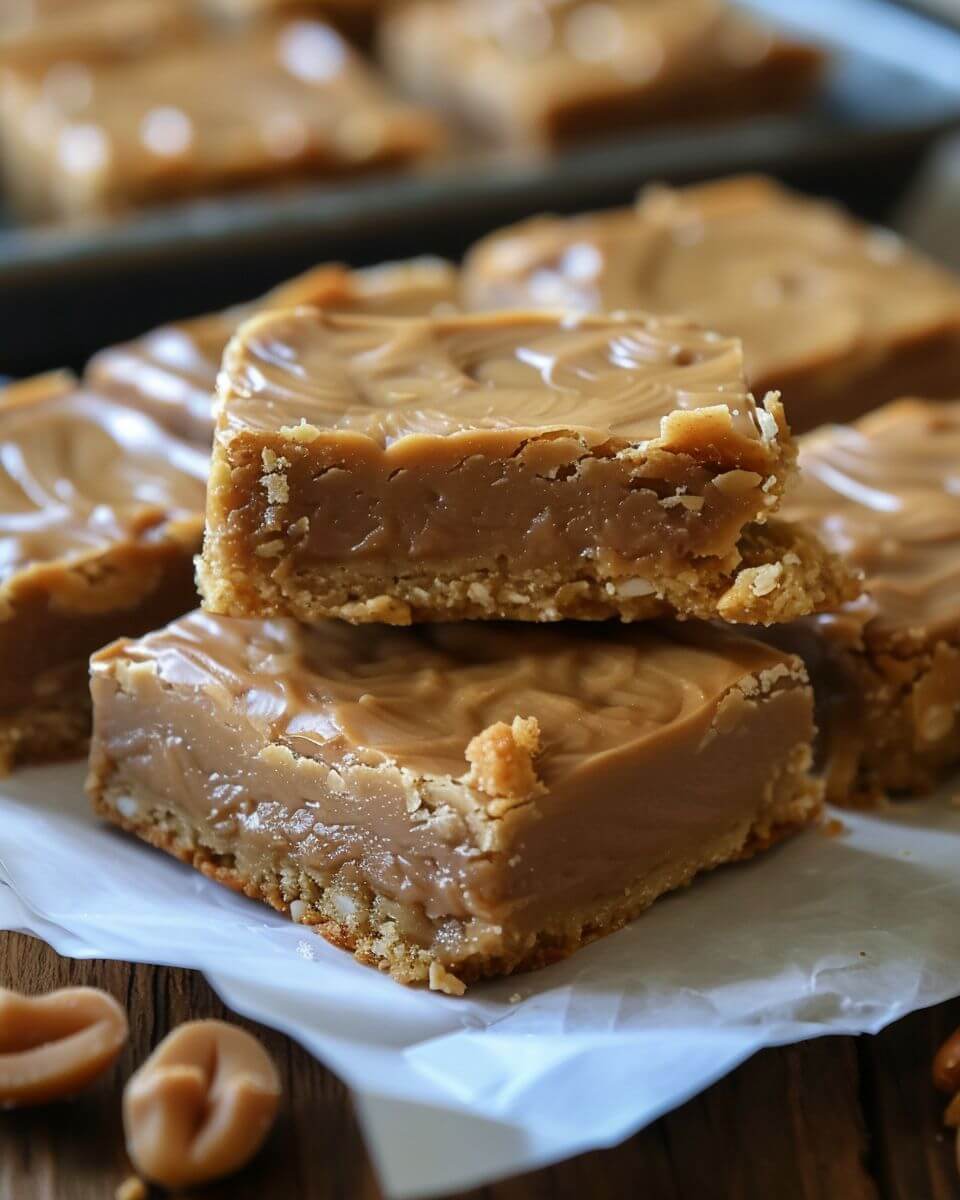
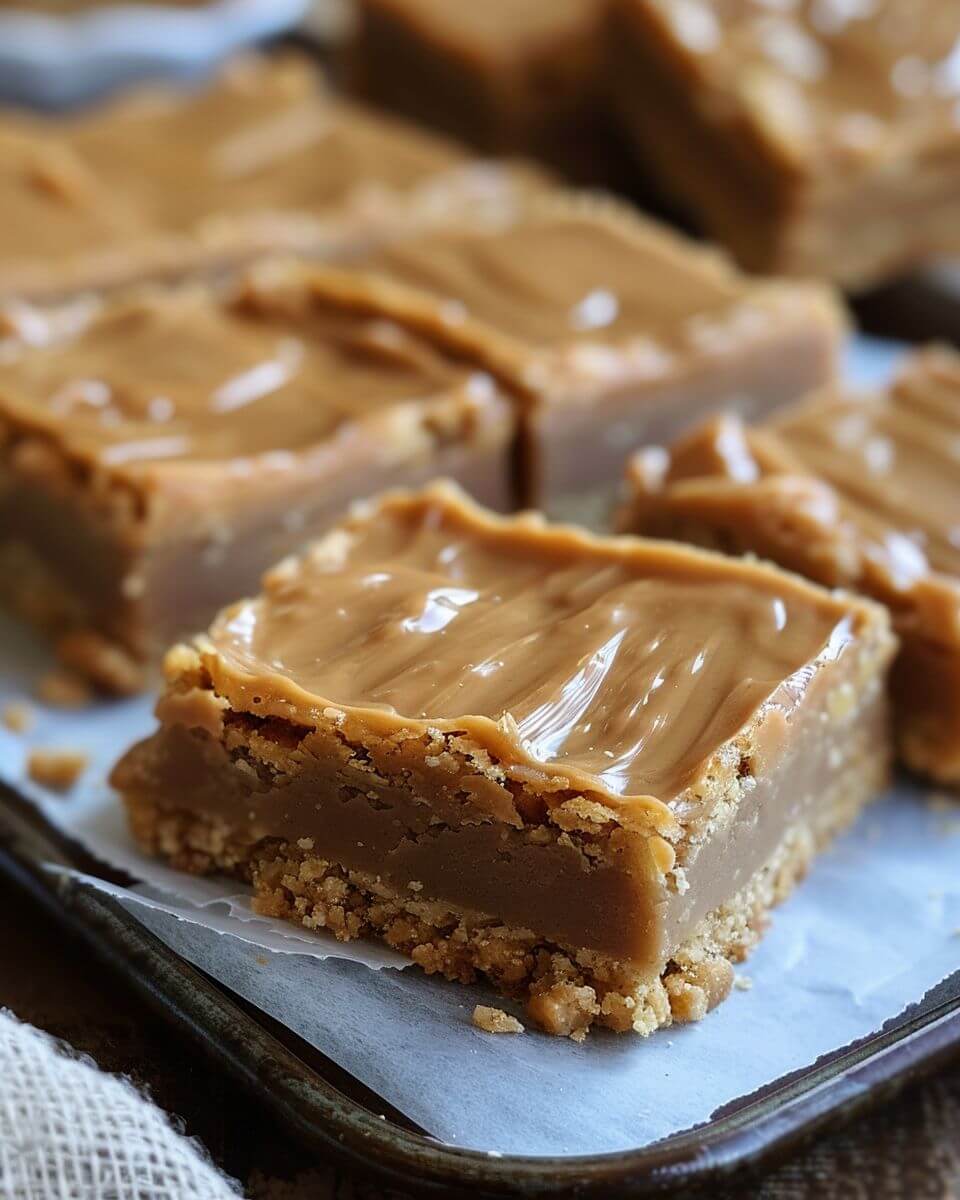
They’re soft, slightly dense, full of peanut butter flavor, and topped with a smooth, creamy frosting that melts just a little when it hits the warm base. Nothing complicated. Nothing over-styled. Just a solid, comforting dessert that people recognize the moment they take a bite.
And if you’re cooking for a family, a classroom, or honestly just your own kitchen—this is the kind of recipe that fits right in.
Why These Bars Work (Even If You’re Not a Baker)
Let’s start with the obvious—they’re easy.
But more than that, they’re forgiving.
You don’t need perfect technique. You don’t need special equipment. And you definitely don’t need to worry about making them look “just right.” In fact, part of their charm is that they don’t look perfect.
What you get instead is:
- A soft, tender peanut butter base
- A smooth frosting layer that sets just enough
- A balance of sweet and salty that keeps them from feeling too heavy
- A recipe that works just as well for beginners as it does for experienced bakers
And maybe most importantly—they’re consistent. You make them once, and they come out exactly how you hoped.
Ingredients (Simple Pantry Staples)
For the bars:
- 2 cups all-purpose flour
- 2 cups granulated sugar
- 1 teaspoon baking soda
- ½ teaspoon salt
- 1 cup water
- 1 cup unsalted butter
- ½ cup creamy peanut butter
- ½ cup buttermilk
- 2 large eggs
- 1 teaspoon vanilla extract
For the frosting:
- ½ cup unsalted butter
- ½ cup creamy peanut butter
- ¼ cup milk
- 3–4 cups powdered sugar
- 1 teaspoon vanilla extract
A few helpful notes before you start:
Creamy peanut butter works best
It blends smoothly and gives that classic texture.
Buttermilk adds softness
If you don’t have it, a quick substitute (milk + a splash of vinegar) works fine.
Don’t overthink the frosting
It should be spreadable—not stiff, not runny.
Step-by-Step (Simple, Straightforward, Reliable)
Start by preheating your oven to 350°F and greasing a sheet pan.
In a large bowl, whisk together flour, sugar, baking soda, and salt.
Set aside.
Heat the Wet Ingredients (This Is the Classic Trick)
In a saucepan, combine:
- Water
- Butter
- Peanut butter
Heat gently until everything melts together.
Once smooth, remove from heat.
Bring It All Together
Pour the warm mixture into your dry ingredients.
Stir until combined.
Add:
- Buttermilk
- Eggs
- Vanilla
Mix until smooth.
The batter will be thin—that’s normal.
Bake (It Comes Together Quickly)
Pour the batter into your prepared pan and spread evenly.
Bake for about 20 minutes, or until set and lightly golden.
Don’t overbake—you want it soft.
Frost While Warm (This Is Key)
While the bars are still warm, prepare the frosting.
In a saucepan, melt:
- Butter
- Peanut butter
- Milk
Remove from heat and stir in powdered sugar and vanilla until smooth.
Pour the frosting over the warm bars and spread evenly.
It will melt slightly into the top—that’s exactly what you want.
Let It Set (Just Long Enough)
Allow the bars to cool so the frosting can firm up slightly.
They’ll still be soft underneath, with a smooth top layer.
Texture Tips (This Makes All the Difference)
You’re aiming for:
- A soft, slightly dense base
- A creamy frosting that sets without becoming stiff
- A clean cut—but not overly firm
To get there:
Don’t overbake the base.
Frost while warm so layers blend slightly.
Let them cool before cutting for cleaner slices.
Make-Ahead & Storage (Perfect for Real Life)
These bars are great for making ahead.
You can:
- Bake them a day in advance
- Store covered at room temperature
- Refrigerate for longer storage
They stay soft and actually taste even better the next day.
Serving Ideas (Casual, Easy, Crowd-Friendly)
These bars fit almost anywhere.
Serve them:
- At family gatherings
- For school events
- As an after-dinner treat
- Packed into lunchboxes
They’re easy to transport, easy to serve, and easy to eat.
A Small Real-Life Note
Some edges might be a little crisp.
The center might be softer.
One slice might be thicker than the next.
That’s part of it.
These aren’t meant to be perfect—they’re meant to be shared.
Why These Bars Stick Around
They don’t rely on trends.
They don’t need decoration.
They’re just good, in a way that feels familiar and comforting.
And in a world of complicated desserts, there’s something really nice about that.
Conclusion
These Peanut Butter Lunch Lady Bars deliver a simple, reliable dessert that combines ease of preparation with satisfying flavor and texture. With familiar ingredients and a straightforward method, they offer a practical option for both everyday treats and larger gatherings.
Their make-ahead convenience and consistent results make them especially useful for busy schedules, while their nostalgic appeal adds an extra layer of enjoyment.
And once you’ve made them, they tend to become one of those recipes you keep coming back to—because sometimes, simple really is best.
Peanut Butter Lunch Lady Bars
Ingredients
Method
- Preheat oven to 375°F and prepare a baking pan.
- Cream butter, granulated sugar, and brown sugar until fluffy.
- Mix in egg, vanilla, and peanut butter.
- Combine dry ingredients and mix into dough.
- Spread dough evenly into prepared pan.
- Bake for 15–18 minutes until lightly golden at edges.
- Cool completely before slicing into bars.
Notes