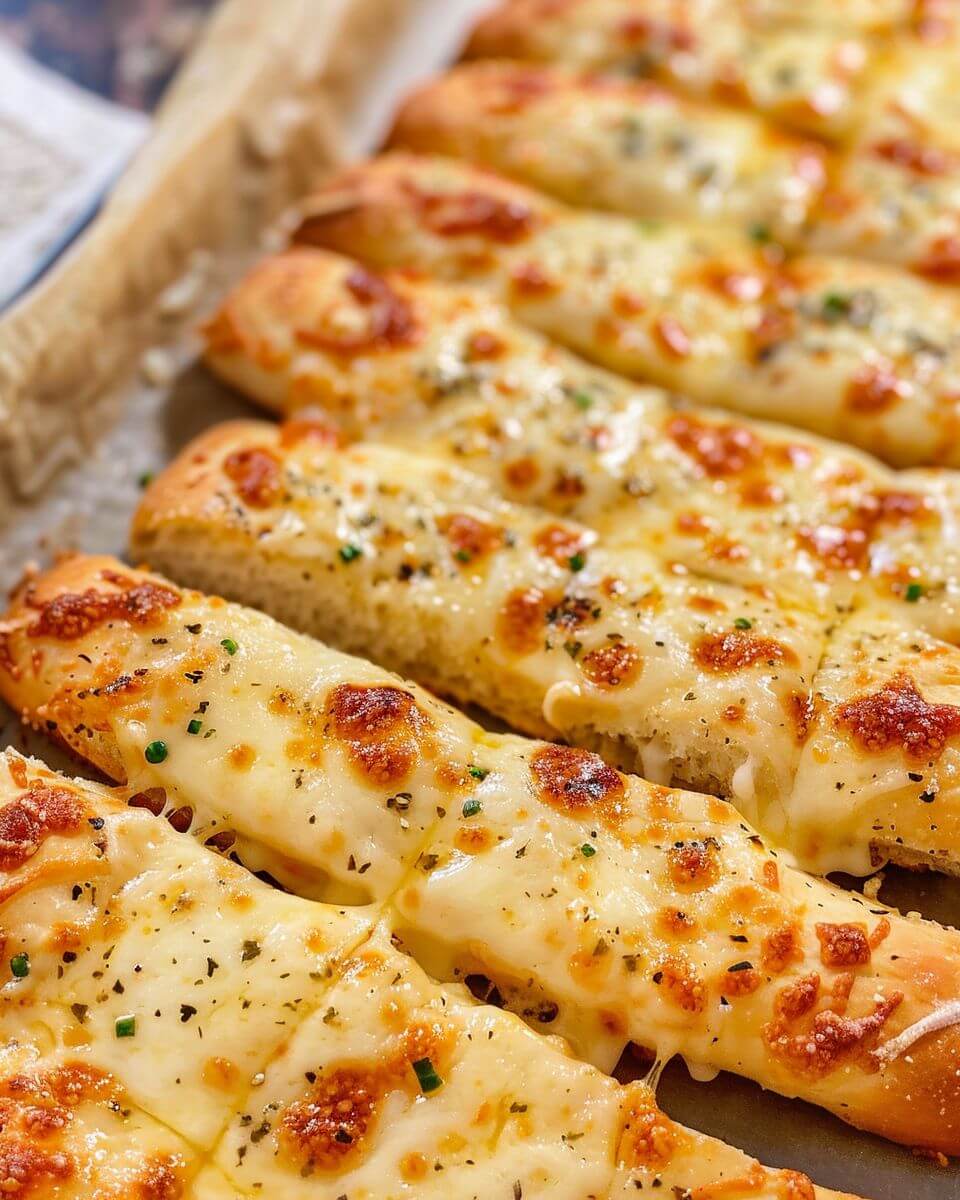
Homemade Cheesy Garlic Breadsticks Recipe
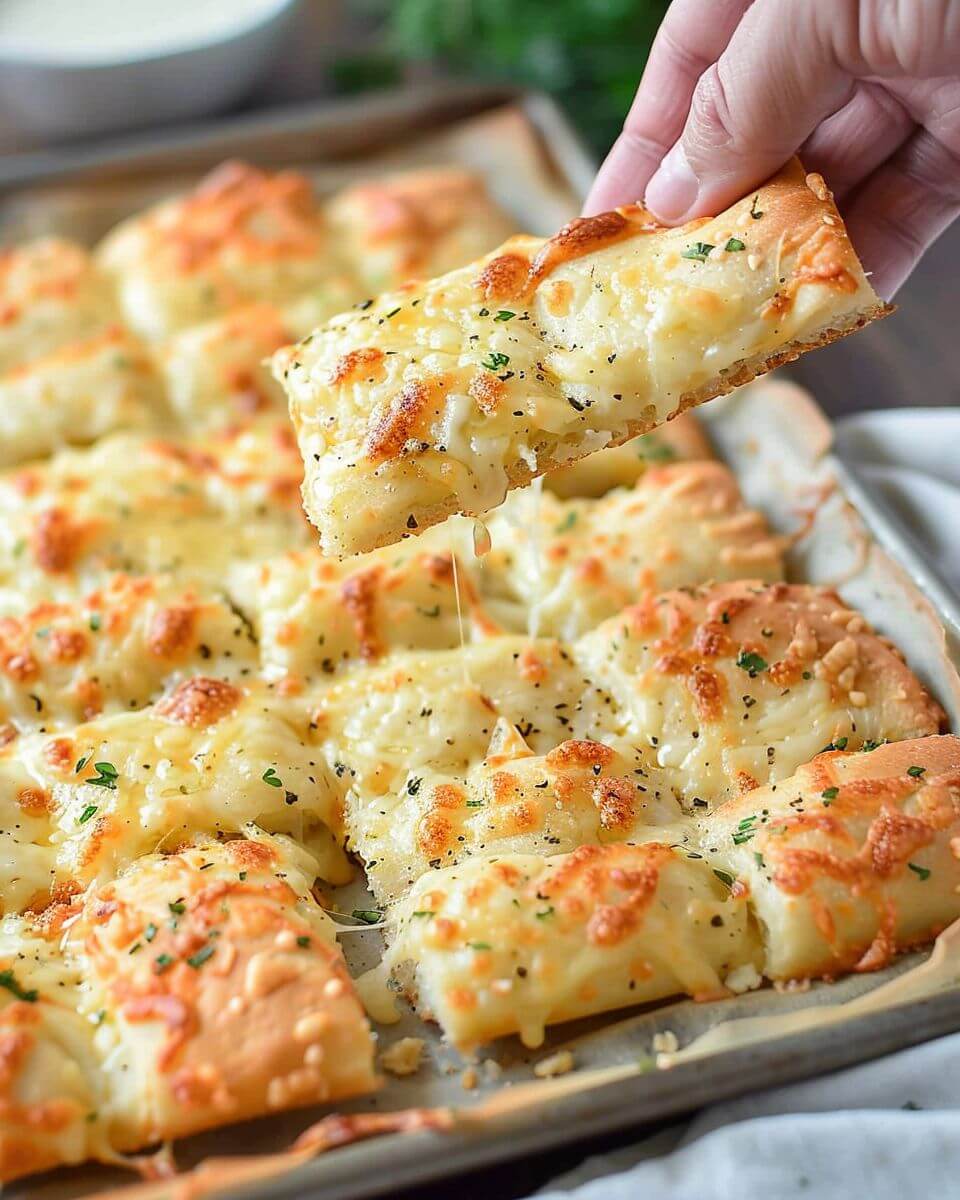
Homemade Cheesy Garlic Breadsticks
(Soft, cheesy, and honestly better than takeout)
There’s something about cheesy garlic breadsticks that just… works.
Maybe it’s the melty cheese. Maybe it’s that warm, buttery garlic smell filling the kitchen. Or maybe it’s the fact that everyone—kids, adults, even the picky eater who “isn’t hungry”—suddenly shows up when these come out of the oven.
And here’s the surprising part: they’re not hard to make.
Yes, there’s dough involved. I know—that can feel like a commitment. But this version is simple, forgiving, and doesn’t expect perfection. You don’t need to be a baker. You just need a little time and a willingness to get your hands slightly messy.
Honestly, that’s half the fun.
Ingredients (Simple and Flexible)
For the dough:
- 2 ¼ teaspoons active dry yeast (1 packet)
- 1 cup warm water
- 1 tablespoon sugar
- 2 ½ cups all-purpose flour
- 1 teaspoon salt
- 2 tablespoons olive oil
For the topping:
- 3 tablespoons butter, melted
- 2 cloves garlic, minced
- 1 ½ cups shredded mozzarella cheese
- ¼ cup grated Parmesan cheese
- 1 teaspoon dried Italian seasoning (optional)
- Pinch of salt
A quick real-life note:
If you’re short on time, you can absolutely use store-bought pizza dough. No guilt here—it still turns out delicious.
Step-by-Step Instructions (You’ve Got This)
1. Activate the yeast
In a bowl, combine warm water, sugar, and yeast. Let it sit for about 5–10 minutes until it gets foamy.
If it doesn’t foam, your yeast might be old. It happens—just start again.
2. Make the dough
Add flour, salt, and olive oil to the yeast mixture.
Mix until a dough forms, then knead for about 5–7 minutes until smooth.
It doesn’t have to be perfect. Just soft and slightly stretchy.
3. Let it rise
Place the dough in a lightly oiled bowl, cover it, and let it rise for about 1 hour—or until it doubles in size.
This is your window to do something else… or just sit for a minute (rare, but nice).
4. Preheat and shape
Preheat your oven to 425°F.
Roll or press the dough into a rectangle on a baking sheet lined with parchment paper.
No need for exact measurements—just aim for even thickness.
5. Add the garlic butter
Mix melted butter and minced garlic, then brush it all over the dough.
Be generous. This is where the flavor starts.
6. Add cheese
Sprinkle mozzarella evenly across the top, then add Parmesan and Italian seasoning.
It might look like a lot of cheese. That’s correct.
7. Bake
Bake for 12–15 minutes, or until:
- The cheese is melted and bubbly
- The edges are golden
Your kitchen will smell amazing at this point.
8. Slice and serve
Let it cool slightly, then cut into breadsticks.
You can use a pizza cutter for quick, even slices—or just a knife. No pressure.
Tips That Actually Help
- Warm water matters: Too hot kills the yeast, too cold won’t activate it. Think warm bath water.
- Don’t over-flour: Sticky dough is okay—too much flour makes it tough.
- Let it rest before cutting: Helps the cheese set just a bit.
- Use fresh garlic if you can: It really makes a difference in flavor.
Variations (Because You Might Want to Switch It Up)
1. Extra Cheesy
Add a mix of cheeses—cheddar, provolone, or even a little Monterey Jack.
2. Stuffed Crust Style
Fold a little cheese into the edges before baking. It’s a small step, but it feels like a treat.
3. Herb Lover’s Version
Add fresh parsley or basil after baking for a brighter flavor.
4. Kid-Friendly Version
Skip the garlic chunks and use garlic powder instead for a milder taste.
5. Quick Shortcut Version
Use pre-made pizza dough and jump straight to shaping and topping.
Some nights, shortcuts are the plan.
Make-Ahead + Storage (Because Life Doesn’t Pause)
Make-ahead:
You can prepare the dough earlier in the day and keep it in the fridge until ready to use.
Storage:
Store leftovers in an airtight container for up to 2 days.
Reheat in the oven for best results (the microwave works, but the texture softens).
Honest moment:
These rarely last long enough to store—but it’s nice to have the option.
What to Serve With Them
These breadsticks go with just about anything:
- Pasta dishes (spaghetti, lasagna, you name it)
- Soups like tomato or chicken noodle
- Salads for a simple meal combo
- Or just marinara sauce for dipping
Or honestly? Serve them on their own for a casual snack dinner. That happens sometimes.
A Small Tangent (Because It Matters)
There’s something really comforting about making dough from scratch.
It’s not just about the food—it’s the process. The mixing, the waiting, the smell while it bakes… it slows things down just a little. And in a busy house, that’s kind of rare.
Even if everything else feels rushed, this gives you a moment.
Conclusion
Homemade cheesy garlic breadsticks are one of those recipes that feel a little special without being complicated. They’re soft, flavorful, and flexible enough to fit into whatever kind of day you’re having.
Whether you make them from scratch or take a shortcut with store-bought dough, the result is the same—something warm, comforting, and easy to share.
And sometimes, that’s exactly what dinner (or snack time) needs.
Homemade Cheesy Garlic Breadsticks
Ingredients
Method
- Preheat oven to 425°F and line a baking tray with parchment paper. Roll out pizza crust evenly on the tray.
- Mix melted butter with crushed garlic and brush evenly over the entire surface of the dough.
- Sprinkle mozzarella and parmesan cheese evenly over the dough. Add oregano if using.
- Cut dough into 16 equal rectangles using a pizza cutter or knife before baking.
- Bake for about 12 minutes, until cheese is melted and lightly golden.
- Remove from oven, re-cut along lines if needed, and serve warm.
Notes